
Kemboja, yang terletak di Asia Tenggara, berkongsi sempadannya dengan tiga negara: Vietnam, Thailand dan Laos. Mencari broker dalam talian yang ideal untuk pedagang Kemboja menjalankan dagangan mungkin mencabar. Ini mungkin berlaku kerana beberapa platform broker dalam talian mengalu-alukan pedagang dari Kemboja atau kerana sesetengah broker dalam talian pada umumnya menjadikan dagangan mencabar untuk pedagang Kemboja. Di bawah ialah tiga broker Pilihan Perduaan teratas yang tersedia di Kemboja, bersama dengan arahan tentang cara untuk meletakkan dagangan pertama anda.
Lihat 5 broker Pilihan Perduaan terbaik di Kemboja:
100+ Pasaran
- Menerima pelanggan antarabangsa
- Bayaran tinggi 95%+
- Platform profesional
- Deposit cepat
- Perdagangan Sosial
- Bonus percuma
100+ Pasaran
- Min. deposit $10
- tunjuk cara $10,000
- Platform profesional
- Keuntungan tinggi sehingga 95%
- Pengeluaran cepat
- Isyarat
300+ Pasaran
- Deposit minimum $10
- Akaun demo percuma
- Pulangan tinggi sehingga 100% (sekiranya ramalan yang betul)
- Platform ini mudah digunakan
- Sokongan 24/7
100+ Pasaran
- Platform profesional
- Akaun demo percuma
- Deposit minimum $10
- Webinar dan pendidikan
- Bayaran yang tinggi
100+ Pasaran
- Menerima pelanggan antarabangsa
- Bayaran tinggi 95%+
- Platform profesional
- Deposit cepat
- Perdagangan Sosial
- Bonus percuma
daripada $50
(Amaran risiko: Dagangan adalah berisiko)
100+ Pasaran
- Min. deposit $10
- tunjuk cara $10,000
- Platform profesional
- Keuntungan tinggi sehingga 95%
- Pengeluaran cepat
- Isyarat
daripada $10
(Amaran risiko: Dagangan adalah berisiko)
300+ Pasaran
- Deposit minimum $10
- Akaun demo percuma
- Pulangan tinggi sehingga 100% (sekiranya ramalan yang betul)
- Platform ini mudah digunakan
- Sokongan 24/7
daripada $10
(Amaran risiko: Modal anda mungkin berisiko)
100+ Pasaran
- Platform profesional
- Akaun demo percuma
- Deposit minimum $10
- Webinar dan pendidikan
- Bayaran yang tinggi
daripada $10
(Amaran risiko: Dagangan adalah berisiko)
Pedagang Kemboja mungkin mendapati sukar untuk mencari broker dalam talian yang sesuai untuk melakukan dagangan. Ini mungkin kerana tidak banyak platform broker dalam talian menerima pedagang dari Kemboja atau sesetengah broker dalam talian cenderung untuk membuat berdagang sukar untuk peniaga Kemboja. Artikel ini mempunyai 4 broker Pilihan Perduaan terbaik yang anda boleh berdagang di Kemboja.
Platform terbaik yang perlu anda pertimbangkan sebagai pedagang Kemboja
Apa yang anda akan baca dalam Post ini
Senarai 4 broker Binari terbaik di Kemboja
Secara umumnya, terdapat banyak yang sesuai broker pilihan binari seluruh dunia. Dengan begitu banyak pilihan, sukar untuk menyimpan gambaran keseluruhan. Oleh itu, kami telah memilih yang terbaik untuk anda. Jadi, mari kita ketahui lebih lanjut tentang broker binari terbaik di Kemboja.
1. Quotex
Quotex dilengkapi dengan akaun demo yang banyak pelanggannya gunakan untuk latihan, terutamanya peniaga baru. Jika anda mula berdagang di broker ini, anda perlu mempunyai a minimum daripada $10 dalam akaun dagangan anda. Jumlah yang lebih kecil daripada $10 tidak boleh dimasukkan ke dalam akaun.
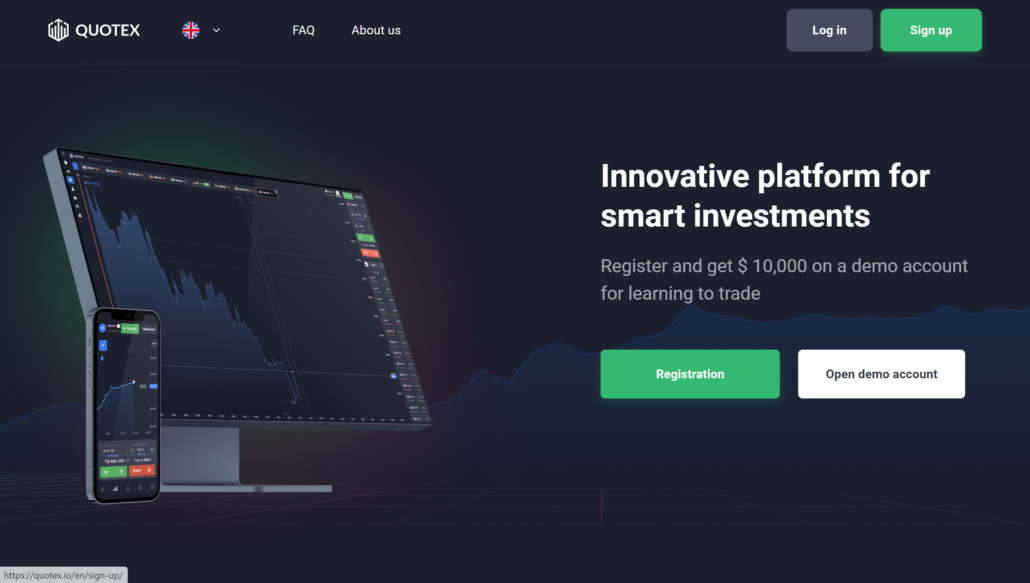
Butiran Quotex:
- Deposit awal: $10
- Instrumen untuk perdagangan: saham, logam, set mata wang
- Platform: apl Quotex, versi web
- 24/7 perkhidmatan pelanggan dan Sokongan Quotex
- Leveraj untuk perdagangan ialah 1:500
- Bonus: Tiada
(Amaran risiko: Modal anda boleh berisiko)
2. IQ Option
IQ Option salah satu syarikat Pilihan Perduaan sedia ada tertua yang masih berfungsi hari ini. Sejak 2013, bilangan pelanggan di platform terus meningkat. Hari ini, peniaga lebih daripada 5 juta. IQ Option ialah a mesra pemula platform kerana ia menawarkan lebih banyak kepada peniaga bahan kuliah yang unik untuk membantu mereka berkembang dalam perdagangan Opsyen Binari.
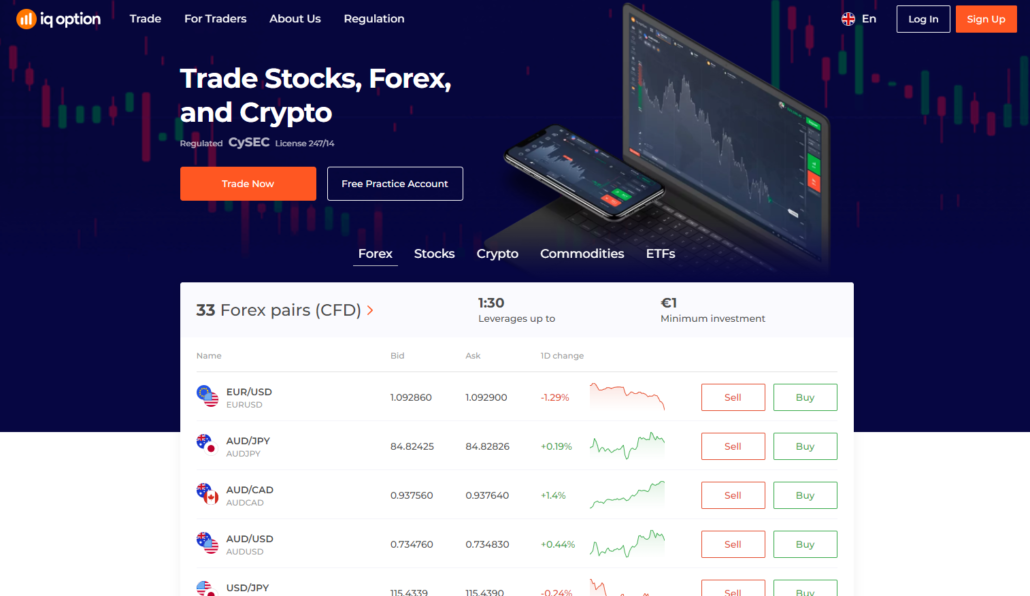
Broker menyokong perdagangan mudah alih, dan juga Apl IQ Option boleh dimuat turun di telefon. Ianya ciri yang boleh disesuaikan jadikan platform bergaya. Pedagang boleh mengubah rupa antara muka platform.
Butiran IQ Option:
- Yuran deposit bermula dari $10
- Instrumen untuk perdagangan ialah OTC, CFD, EFT
- Broker memiliki platform tersedia
- perkhidmatan IQ Option ialah tersedia setiap hari
- The yuran leverage ialah 1:500
- Ia tidak menawarkan bonus
(Amaran risiko: Modal anda boleh berisiko)
3. Pocket Option
Pocket Option membolehkan pedagang dari Kemboja, dan broker ini bagus kerana ciri-ciri. Sebagai pedagang baharu yang mendaftar pada platformnya, anda mendapat a bonus selamat datang, dan ciri lain yang terdapat dalam platform. Untuk memulakan dagangan pada Pocket Option, anda mesti membuat a deposit minimum $50.

Menawarkan perdagangan mudah alih untuk peniaga adalah salah satu cirinya. Peniaga boleh membuat dagangan dari skrin telefon mereka. Tawaran Pocket Option banyak aset untuk digunakan oleh peniaga di pasaran. Ini bermakna bahawa peniaga telah pelbagai pilihan daripada senarai aset hadir dalam platform.
Butiran Pocket Option:
- Yuran deposit bermula dari $50
- Instrumen untuk perdagangan ialah pasangan forex, mata wang kripto, CFD
- Ia mempunyai platform MT5
- 24/7 Sokongan pengguna
- Leverage adalah pada 1:100
- Bonus tersedia termasuk bonus alu-aluan, bonus kesatuan peniaga, kod promo dan banyak lagi
(Amaran risiko: Modal anda boleh berisiko)
4. Olymp Trade
Olymp Trade telah tersedia untuk perdagangan Opsyen Binari sejak 2014. Ramai pedagang berada di platformnya, menggunakan aset dagangan yang tersedia untuk mereka. Firma broker adalah mesra pemula, menawarkan alatan kuliah kepada pelanggannya – baru dan lama. Dengan pembiayaan minimum $10, ia menawarkan peniaga a yuran dagangan minimum $1.
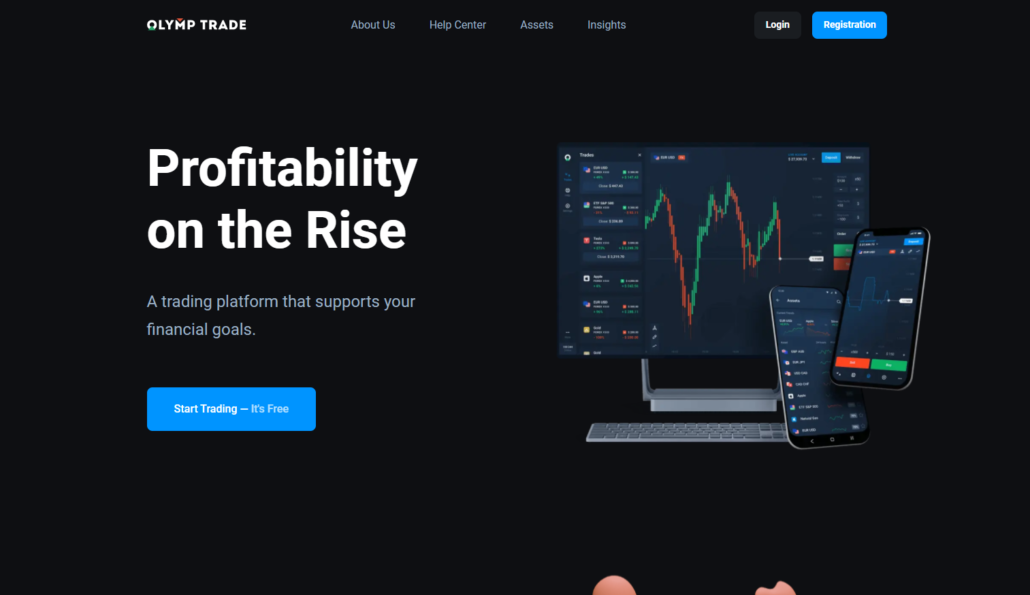
Pelanggan yang ingin berdagang dengan alat yang lebih kecil seperti telefon boleh memuat turun aplikasi. Pelanggan boleh mereka bentuk antara muka untuk menepati citarasa mereka. Olymp Trade ialah a platform selamat untuk perdagangan Opsyen Binari.
Butiran Olymp Trade:
- Deposit minimum Olymp Trade daripada $10 ke dalam akaun dagangan
- Instrumen ialah OTC, logam, mata wang
- Platformnya ialah web dan mudah alih-berasaskan
- Sokongan pengguna boleh dihubungi setiap hari dalam seminggu
- Leverage rendah
- Ia tidak mempunyai bonus
(Amaran risiko: Modal anda boleh berisiko)
Bagaimana untuk mendaftar untuk Pilihan Perduaan di Kemboja
Mencipta akaun baharu sebagai pedagang Kemboja pada mana-mana broker Pilihan Perduaan di atas boleh dilakukan dengan langkah mudah. Langkah pertama yang perlu adalah untuk mendapatkan permohonan pada telefon anda atau lawati laman web daripada broker dalam talian yang telah anda pilih. Dari sana, anda memukul pendaftaran pada skrin anda untuk meneruskan.

Isikan dalam maklumat pada skrin. Maklumat itu penting. Pastikan anda menggunakan e-mel yang anda gunakan untuk mendaftar dengan broker kerana, sebelum anda boleh meneruskan ke fasa seterusnya, anda perlu sahkan e-mel digunakan untuk membuat akaun anda.

Jika anda telah mengesahkan akaun anda, anda boleh kembali ke platform broker untuk melengkapkan fasa seterusnya. Fasa seterusnya adalah mudah. Semua yang akan diperlukan daripada anda adalah jelas gambar ID kad itu membuktikan identiti anda dan yang jelas gambar bil utiliti itu membuktikan di mana anda tinggal.
Kira-kira 24 jam selepas menyerahkan kad pengenalan dan bil utiliti, anda sepatutnya dapat melakukannya akses akaun dagangan anda. Anda juga boleh guna akaun palsu sebelum berdagang dengan akaun sebenar anda. Jika akaun dagangan anda nampaknya tidak boleh diakses selepas satu hari, semak mel anda untuk melihat sama ada sebarang mesej telah dihantar kepada anda.
(Amaran risiko: Modal anda boleh berisiko)
Adakah undang-undang untuk berdagang Pilihan Perduaan di Kemboja?
Terdapat tiada sekatan pada peniaga Kemboja daripada Pilihan Perduaan. The pasaran kewangan adalah sah di Kemboja. Terdapat banyak pedagang Kemboja pada platform syarikat broker yang berbeza berdagang dengan satu alat atau yang lain. Hanya kerana Kemboja tidak mempunyai rangka kerja undang-undang membimbing Pilihan Perduaan tidak bermakna peniaganya tidak boleh berdagang Pilihan Perduaan pada platform broker dalam talian.

Peraturan kewangan di Kemboja
Peraturan Kewangan di Kemboja ialah ditakrifkan. Organisasi yang berbeza menjalankan tugas yang berbeza di negara ini. Mereka memastikan bahawa Kemboja status kewangan disemak dan seimbang.

The Bank Negara Kemboja adalah badan pertama yang dipertanggungjawabkan dengan kewajipan oleh undang-undang negara untuk menyelia institusi kewangan. Bank Negara Kemboja, yang dikenali sebagai NBC, memastikan negara kestabilan kewangan adalah baik. Ia menyelia mana-mana dasar monetari di Kemboja.
NBC melaksanakan peranan Bank Negara, yang bertanggungjawab mengeluarkan mata wang yang dibelanjakan di negara itu. Ia memastikan bahawa ia mengeluarkan lesen kepada mana-mana struktur kewangan sedia ada.
(Amaran risiko: Modal anda boleh berisiko)
Kemboja juga mempunyai badan yang bertanggungjawab ke atas panduan dasar sekuriti dan pertukaran. Badan ini dikenali sebagai SECC, yang bermaksud Suruhanjaya Sekuriti dan Bursa untuk Kemboja. Akhir sekali, organisasi yang bertanggungjawab terhadap Pemisahan Industri Kewangan ialah MEF.

Bank Negara Kemboja, SECC dan MEF sedang mengusahakan a struktur untuk berfungsi sebagai satu badan dalam negara. Sebuah risalah telah ditandatangani untuk memastikan ini berlaku pada tahun 2014.
(Amaran risiko: Modal anda boleh berisiko)
Bagaimana untuk mendepositkan dana untuk perdagangan Opsyen Binari
Selepas mencipta akaun anda untuk pedagang Kemboja dan anda ingin memulakan dagangan serta-merta dengan akaun langsung anda, anda perlu masukkan wang ke dalam akaun anda. Membiayai akaun anda mengambil masa langkah mudah, yang akan diterangkan di bawah.

Untuk mengkreditkan akaun dagangan anda sebagai pedagang, anda mesti pilih satu daripada kaedah pembayaran broker anda telah tersedia pada platformnya. Adakah anda lebih suka deposit terus dari bank anda, kemudian pilih kaedah pembayaran bank? Selepas melepasi langkah keselamatan yang diperlukan daripada bank dan broker anda, akaun dagangan anda akan dikreditkan dengan jumlah pilihan anda.

Anda juga boleh kreditkan akaun anda melalui sistem dompet dalam talian. Wang daripada anda dompet dalam talian akan ditolak untuk membiayai akaun dagangan anda. Jika anda lebih suka menggunakan anda debit, kredit atau kad hadiah, anda perlu menyediakan kad yang anda ingin gunakan. Untuk menambah kad anda untuk pembayaran, anda mesti lulus beberapa pemeriksaan keselamatan sebelum transaksi anda boleh diluluskan.
Untuk mendepositkan dana ke dalam akaun anda, pastikan anda menyemak deposit minimum yang broker terima. Deposit minimum bermakna jumlah terkecil yang dibenarkan oleh broker anda untuk mendepositkan ke dalam akaun dagangan anda.
(Amaran risiko: Modal anda boleh berisiko)
Bagaimana untuk menarik diri
Berfikir untuk mengeluarkan dana anda daripada platform Broker anda? Kemudian lakukan dengan memilih kaedah pembayaran. Anda sepatutnya boleh mengeluarkan wang daripada broker anda terus ke akaun bank anda dengan memilih kaedah pembayaran tersebut. Anda perlu mengisi nombor akaun anda mahu ia dihantar kepada dan kemudiannya nama akaun.

The kaedah kad tersedia pada kebanyakan broker. Wang boleh dihantar dari akaun anda ke kad anda. Terdapat juga kaedah dompet dalam talian. Wang boleh dihantar dari akaun dagangan anda ke mana-mana e-dompet yang anda miliki.
Pengeluaran adalah tidak selalunya percuma; sesetengah broker mengenakan bayaran a yuran pengeluaran daripada peniaga mereka sebelum mereka boleh mengeluarkan wang dari akaun mereka. Tidak semua broker memberi pedagang keupayaan untuk menarik diri pada hujung minggu.
(Amaran risiko: Modal anda boleh berisiko)
Bagaimana untuk berdagang Pilihan Perduaan di Kemboja
Sebagai peniaga baru, anda mungkin berfikir bahawa Pilihan Perduaan adalah kompleks. Namun, kebenarannya ialah ramai peniaga, termasuk peniaga Kemboja, lebih suka berdagang Pilihan Perduaan kerana ia ringkas. Di bawah ini kami telah menyatakan langkah-langkah yang akan membimbing anda dalam mengetahui bagaimana perdagangan Opsyen Binari dilakukan.

Langkah #1: Ikuti anjakan pasaran
Jika anda ingin menjadi seorang peniaga yang baik, anda pasti mahu mengikuti peralihan pasaran setiap hari atau dalam sehari, bergantung pada cara anda ingin berdagang. Mengikuti peralihan pasaran bermakna mengikut pergerakan pasaran atas pertuduhan. Pasaran tidak pernah tetap kerana sentiasa ada a naik atau turun.

belajar bagaimana, bila, dan di mana pasaran naik dan turun adalah penting sebagai seorang peniaga, sama ada baru atau lama. Mengikuti pasaran, pergerakan meningkatkan peniaga kuasa ramalan.
(Amaran risiko: Modal anda boleh berisiko)
Langkah #2: Pilih pasaran
Sebagai peniaga, anda boleh memilih pasaran anda mahu berdasarkan bagaimana pasaran memihak kepada dagangan anda. Disana ada dua jalan ini boleh dilakukan. Tempoh masa dan mengikut minat anda.
- Tempoh masa

Perdagangan binari bergantung kepada a masa ditetapkan. Anda boleh memilih pasaran berdasarkan tempoh masa yang boleh menjadi sehari, dua hari, atau kadangkala seminggu. Disana ada pasaran yang berbeza tersedia dan masa yang berbeza yang boleh anda tetapkan untuk bertahan apabila anda membuka dagangan dalam mereka. Sebagai seorang peniaga, sebaiknya pilih a tempoh masa yang memihak kepada anda.
- Minat anda

Disana ada instrumen dagangan yang berbeza untuk Pilihan Perduaan dan instrumen ini boleh mempengaruhi pilihan pasaran anda. Sesetengah peniaga suka membuka dagangan dengan emas, jadi mereka akan mendapati diri mereka biasanya dalam pasaran seperti itu.
(Amaran risiko: Modal anda boleh berisiko)
Langkah #3: Tetapkan harga dagangan dan tetapkan tarikh akhir
Menetapkan jumlah anda sanggup berniaga. Ini bergantung kepada sejauh mana anda sanggup berkorban di pasaran. Berkorban tinggi wang untuk ramalan anda akan membawa pendapatan yang lebih besar untuk awak. Anda juga perlu menetapkan berapa lama anda ingin perdagangan diteruskan. Ini memerlukan kajian yang betul tentang pasaran.

Langkah #4: Buka perdagangan
Perdagangan terbuka di pasaran yang anda pilih selepas itu menetapkan harga dan tarikh akhir anda. Sebaik sahaja anda mengesahkan dagangan anda, pertaruhan anda telah ditetapkan.

Langkah #5: Bersantai dan tunggu sehingga tempoh masa tamat atau berhenti berdagang
Jika anda telah mempelajari peralihan pasaran dengan betul, anda akan mempunyai lebih keyakinan dan tunggu sehingga masa yang anda tetapkan untuk perdagangan untuk tamat tempoh. Anda juga boleh berhenti jika anda tidak menetapkan dagangan anda pada masa yang betul dan berfikir a perdagangan negatif mungkin berlaku tidak lama lagi. Anda boleh berdagang jika pertaruhan yang anda letakkan tidak memihak kepada anda.

Kebaikan dan keburukan perdagangan Opsyen Binari di Kemboja
Kelebihan Dagangan Binari ialah:
- Mudah difahami dan menyeronokkan untuk berdagang.
- Pengetahuan terdahulu tentang risiko dan pulangan.
- Dagangan adalah murah kerana anda tidak membeli aset asas.
- Pembayaran ganjaran yang tinggi, sekali-sekala mencapai 90% setiap dagangan.
- Bonus dan insentif sering diberikan pada deposit anda.
- Pilihan ditutup secara automatik, jadi anda tidak perlu risau tentang itu!
- Untuk membantu anda menguasainya, broker menawarkan alat perdagangan dan pendidikan.
Keburukan Perdagangan Binari ialah:
- Faedah tinggi datang dengan lebih besar risiko.
- Dalam industri, terdapat broker penipuan tertentu.
- Kemungkinan sentiasa memihak kepada broker.
(Amaran risiko: Modal anda boleh berisiko)
Risiko perdagangan Opsyen Binari di Kemboja
Perdagangan jangka pendek
Pada dasarnya, anda cuba meramalkan masa depan apabila anda membuat ramalan tentang arah harga aset kewangan. Ini dilakukan melalui pemeriksaan item dan trend harganya, kerana tiada siapa yang memiliki bola kristal yang membolehkan mereka melihat masa depan dengan jelas.
Ramalan untuk masa depan terdekat, bagaimanapun, mempunyai peluang yang jauh lebih rendah untuk menjadi betul.
Kemungkinan ramalan menjadi kenyataan berkurangan dengan ketara dengan pilihan binari kerana tempoh masa yang terhad.
Kemeruapan
Aset yang sangat tidak menentu ialah aset yang harganya turun naik dengan cepat dalam mana-mana arah atau tiada langsung, itulah yang biasanya dicari oleh peniaga aset ini. Malangnya, melakukan ini adalah antara perkara paling buruk yang boleh dilakukan oleh peniaga kerana aset yang sangat tidak menentu adalah lebih sukar untuk diramalkan daripada aset yang bergerak perlahan dan stabil.
Semua-atau-tiada
Anda mengambil bahagian dalam bahagian keuntungan atau kerugian yang dilaburkan dalam pengalaman aset kewangan apabila anda berdagang aset tersebut. Anda tidak berkongsi dalam apa-apa peratusan keuntungan apabila pilihan binari perdagangan. Sebaliknya, anda terlibat dalam perdagangan serba guna, bermakna anda menghadapi risiko kehilangan semua wang anda dalam masa beberapa minit.
Kesimpulan: Broker Pilihan Perduaan boleh didapati di Kemboja
Pilihan Perduaan ialah a pasaran yang luas sama seperti pasaran Forex. Terdapat broker yang menyediakan pelanggan dengan banyak alat dagangan yang boleh mereka gunakan meletakkan pertaruhan atau membuat ramalan. Sesetengah broker juga menyediakan kuliah yang boleh membantu pedagang baharu dengan perjalanan perdagangan Pilihan Perduaan mereka. Walaupun pasaran mengambil langkah mudah untuk melakukan perdagangan, anda tidak boleh membuat ramalan melulu.
Peniaga Opsyen Binari yang pakar berhati-hati dan tidak tergesa-gesa.
(Amaran risiko: Modal anda boleh berisiko)
Soalan Lazim (Soalan Lazim) tentang Pilihan Perduaan di Kemboja :
Adakah perdagangan binari sah di Kemboja?
Di Kemboja, perdagangan pilihan binari dibenarkan.
Walau bagaimanapun, memandangkan banyaknya broker yang tidak berdaftar, kami amat menyarankan agar anda mengambil masa tambahan untuk menyiasat pilihan anda sebelum membuka akaun.
Bagaimanakah saya memilih broker yang boleh dipercayai di Kemboja?
Seorang broker dikehendaki oleh undang-undang Kemboja untuk mendedahkan semua maklumat, termasuk nama, maklumat pendaftaran, alamat sah, dsb. Dokumen yang paling penting ialah lesen aktiviti kewangan.
Adakah membeli dan menjual pilihan binari di Kemboja akan menghasilkan keuntungan kewangan?
Pilihan binari perdagangan adalah sangat biasa di kalangan pedagang hari ini di Kemboja. Jika tekaan khusus anda tepat, anda boleh membuat keuntungan yang besar sebanyak 70% hingga 85% (atau lebih banyak lagi). Anda akan kehilangan keseluruhan pegangan anda jika tekaan anda salah. Walaupun ia berbahaya, perdagangan pilihan boleh menguntungkan.


