Terletak di timur Himalaya di Asia Selatan, Bhutan ialah sebuah negara yang terkurung daratan. Bhutan berkongsi sempadan dengan India dan China. Dagangan pilihan binari semakin popular di seluruh dunia, termasuk di Bhutan. Apabila lebih ramai orang Bhutan berminat dengan bentuk pelaburan unik ini, mereka akan mahu memilih broker atau platform yang menawarkan pengalaman dan hasil terbaik. Dengan itu, inilah 4 broker dan platform pilihan binari teratas beroperasi hari ini.

Dalam artikel ini, kami memperkenalkan broker pilihan binari terbaik untuk pedagang Bhutan:
Apa yang anda akan baca dalam Post ini
Senarai 5 broker Binari terbaik di Bhutan
Secara umumnya, terdapat banyak yang sesuai broker pilihan binari seluruh dunia. Dengan begitu banyak pilihan, sukar untuk menyimpan gambaran keseluruhan. Oleh itu, kami telah memilih yang terbaik untuk anda. Jadi, mari kita ketahui lebih lanjut tentang broker binari terbaik di Bhutan.
Lihat 4 broker Pilihan Perduaan terbaik di Bhutan:
100+ Pasaran
- Menerima pelanggan antarabangsa
- Bayaran tinggi 95%+
- Platform profesional
- Deposit cepat
- Perdagangan Sosial
- Bonus percuma
100+ Pasaran
- Min. deposit $10
- tunjuk cara $10,000
- Platform profesional
- Keuntungan tinggi sehingga 95%
- Pengeluaran cepat
- Isyarat
300+ Pasaran
- Deposit minimum $10
- Akaun demo percuma
- Pulangan tinggi sehingga 100% (sekiranya ramalan yang betul)
- Platform ini mudah digunakan
- Sokongan 24/7
100+ Pasaran
- Platform profesional
- Akaun demo percuma
- Deposit minimum $10
- Webinar dan pendidikan
- Bayaran yang tinggi
100+ Pasaran
- Menerima pelanggan antarabangsa
- Bayaran tinggi 95%+
- Platform profesional
- Deposit cepat
- Perdagangan Sosial
- Bonus percuma
daripada $50
(Amaran risiko: Dagangan adalah berisiko)
100+ Pasaran
- Min. deposit $10
- tunjuk cara $10,000
- Platform profesional
- Keuntungan tinggi sehingga 95%
- Pengeluaran cepat
- Isyarat
daripada $10
(Amaran risiko: Dagangan adalah berisiko)
300+ Pasaran
- Deposit minimum $10
- Akaun demo percuma
- Pulangan tinggi sehingga 100% (sekiranya ramalan yang betul)
- Platform ini mudah digunakan
- Sokongan 24/7
daripada $10
(Amaran risiko: Modal anda mungkin berisiko)
100+ Pasaran
- Platform profesional
- Akaun demo percuma
- Deposit minimum $10
- Webinar dan pendidikan
- Bayaran yang tinggi
daripada $10
(Amaran risiko: Dagangan adalah berisiko)
#1. Quotex
Quotex ialah platform pilihan binari yang menawarkan a mudah dan inovatif cara untuk berdagang pilihan binari dalam talian. Dengan Quotex, anda boleh berdagang pilihan binari pada pelbagai aset, termasuk saham, komoditi, indeks dan mata wang.
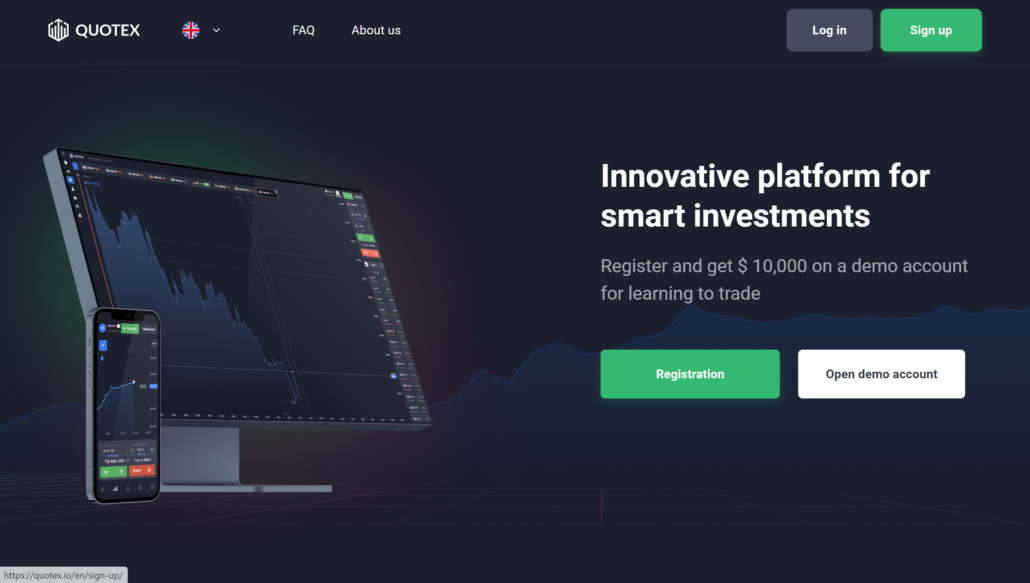
Anda boleh berdagang pilihan binari pada saham, komoditi, indeks, dan mata wang 24 jam sehari, lima hari seminggu. Anda juga boleh menukar pilihan binari pada jangka masa yang lebih pendek, menjadikannya lebih mudah untuk mengambil kesempatan daripada turun naik harga jangka pendek. Platform Quotex telah direka bentuk dengan mengambil kira pengguna. Ia mudah digunakan dan menawarkan semua alat yang anda perlukan untuk membuat keputusan perdagangan termaklum. Disana ada tiada komisen atau yuran tersembunyi, jadi anda boleh yakin bahawa anda mendapat tawaran terbaik apabila anda berdagang dengan Quotex.
ciri-ciri:
Quotex ialah platform dagangan pilihan binari yang menawarkan an antara muka yang mudah digunakan dan intuitif. Ia telah direka untuk memenuhi keperluan kedua-dua pedagang baru dan berpengalaman. Platform ini menyediakan pelbagai ciri, termasuk:
- Deposit minimum Quotex: $10
- Pelbagai jenis aset untuk didagangkan
- Kadar bayaran yang tinggi
- Antara muka mesra pengguna
- Tiada yuran komisen
- Berdagang dengan yakin, mengetahui bahawa dana anda selamat dan terjamin
Adakah Quotex sah di Bhutan?
Ya, perdagangan pilihan binari pada Quotex adalah sah sepenuhnya di Bhutan. Pada masa ini, ketiadaan rangka kerja kawal selia yang mengawal perdagangan pilihan binari dalam talian di Bhutan tidak menjadikannya menyalahi undang-undang. Pedagang Bhutan bebas menggunakan semua alat dan tawaran platform dagangan dalam talian yang boleh dipercayai ini tanpa perlu risau tentang undang-undang.
(Amaran risiko: Modal anda boleh berisiko)
#2. IQ Option
IQ Option adalah broker pilihan binari yang menawarkan platform dagangan untuk perdagangan pilihan binari. Platform ini telah direka dengan pengguna dan mudah digunakan. Ia menyediakan banyak ciri dan alat, membolehkan anda berdagang pilihan binari dengan jayanya. Syarikat itu menawarkan pelbagai jenis aset dan jenis kontrak yang boleh didagangkan pada platformnya. Selain itu, IQ Option menawarkan a pelbagai jenis akaun untuk memenuhi keperluan semua pedagang, termasuk mereka yang baru dalam perdagangan pilihan binari.
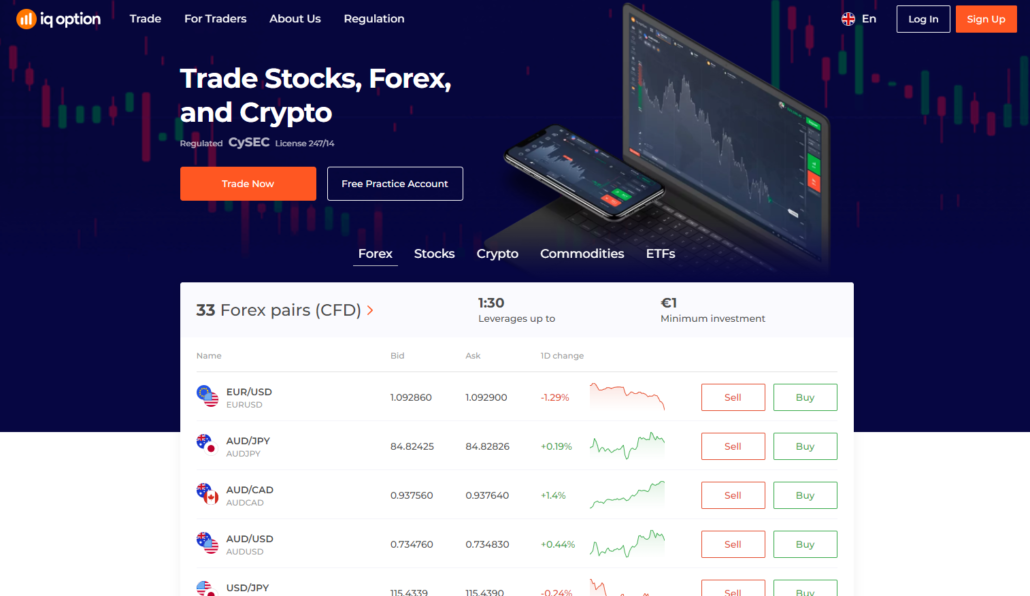
IQ Option menawarkan pelanggannya a pilihan dua platform dagangan: platform berasaskan web dan platform desktop. Platform berasaskan web adalah berasaskan pelayar dan tidak memerlukan sebarang muat turun atau pemasangan. The platform desktop tersedia sebagai muat turun untuk pengguna Windows dan Mac. Kedua-dua platform adalah mudah untuk digunakan dan menawarkan pelbagai ciri, termasuk keupayaan carta lanjutan, keupayaan untuk meletakkan dagangan, dan banyak ciri lain.
ciri-ciri:
IQ Option ialah platform dagangan pilihan binari yang menawarkan pelbagai ciri. Ini termasuk:
- Pelbagai aset untuk didagangkan, termasuk saham, indeks, komoditi dan mata wang
- Pembayaran yang tinggi untuk memenangi perdagangan
- Deposit minimum pada IQ Option daripada hanya $10
- Percuma Akaun demo IQ Option untuk mengamalkan perdagangan
- Pelbagai masa luput, dari 60 saat hingga satu bulan
Adakah IQ Option sah di Bhutan?
Peniaga yang berpangkalan di Bhutan boleh mengakses perkhidmatan IQ Option sebagai platform untuk perdagangan pilihan binari kerana ia adalah sah di Bhutan. Pelanggan syarikat ini mengetahui platform dagangan unik yang membolehkan mereka membuat dagangan pada pelbagai aset yang terkenal. Pada masa ini, ketiadaan peraturan yang ditetapkan untuk perdagangan pilihan binari dalam talian di Bhutan tidak merupakan aktiviti yang menyalahi undang-undang.
(Amaran risiko: Modal anda boleh berisiko)
#3. Pocket Option
Pocket Option ialah platform pilihan binari yang menawarkan kedua-duanya kesederhanaan dan kecanggihan. Laman web adalah mudah untuk dinavigasi, dengan semua maklumat yang diperlukan di hujung jari anda. Proses perdagangan tidak rumit dan mudah, menjadikannya sesuai untuk pemula.

Tetapi jangan tertipu dengan kesederhanaannya, seperti yang dibanggakan oleh Pocket Option banyak ciri, pilihan dan aset yang akan menarik minat peniaga yang berpengalaman juga. Pengeluaran diproses dengan cepat dan tanpa kerumitan, menjadikan ini a platform mesra pengguna anda boleh percaya. Pocket Option menawarkan a pelbagai jenis akaun kepada pelanggannya, termasuk a Akaun demo Pocket Option untuk membantu peniaga membiasakan diri dengan platform dagangan dan ciri yang ditawarkannya.
ciri-ciri:
Pocket Option ialah platform dagangan pilihan binari yang menawarkan pengguna a pelbagai ciri. Beberapa ciri Pocket Option termasuk:
- Deposit minimum: $50
- Pelbagai jenis aset untuk dipilih, termasuk saham, indeks, komoditi dan pasangan Forex
- Platform mesra pengguna – mudah untuk peniaga menggunakan dan menavigasi, walaupun mereka baru dalam perdagangan pilihan binari
- Banyak pilihan masa tamat tempoh: antara 60 saat hingga 365 hari.
Adakah Pocket Option sah di Bhutan?
Pocket Option ialah syarikat perdagangan terkenal yang beroperasi di Bhutan. Dikenali dengan menyediakan perkhidmatan terkemuka, Pocket Option semakin terkenal dalam kalangan peniaga di negara ini. Setakat ini, tiada garis panduan khusus untuk mengklasifikasikan perdagangan pilihan binari dalam talian di Bhutan sebagai haram.
(Amaran risiko: Modal anda boleh berisiko)
#4. Olymp Trade
Perdagangan pilihan binari ialah a bentuk pelaburan baharu yang semakin popular sejak beberapa tahun kebelakangan ini. Ia melibatkan pembuatan ramalan tentang arah harga aset dalam satu masa tertentu. Peniaga membeli kontrak pilihan binari, yang menetapkan sama ada harga aset akan naik atau turun pada masa tertentu.
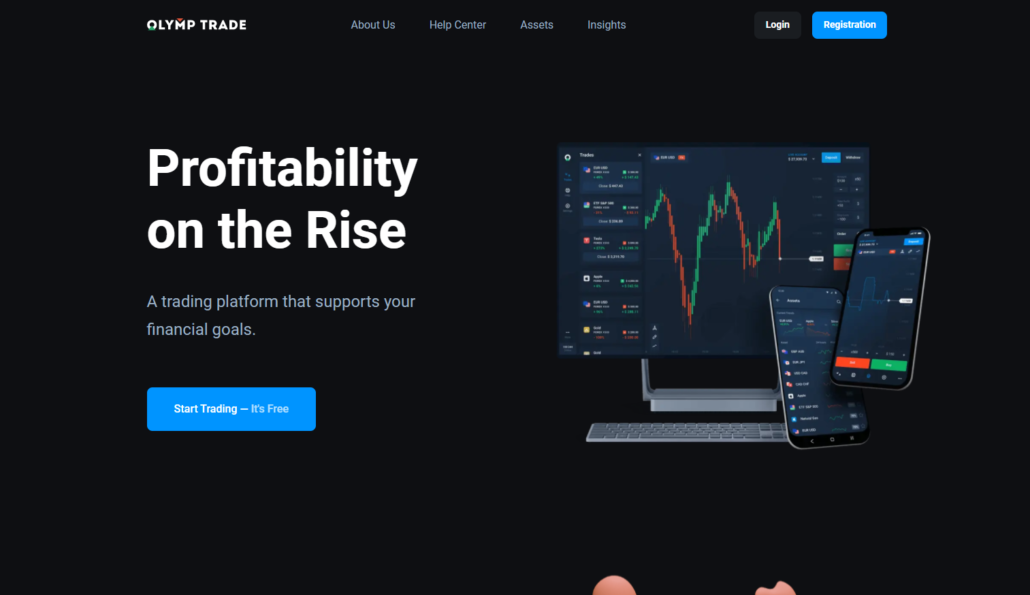
Keindahan perdagangan pilihan binari ialah terdapat hanya dua kemungkinan hasil, jadi peniaga sentiasa mengetahui potensi keuntungan atau kerugian mereka sebelum memasuki perdagangan. Olymp Trade merupakan salah satu platform pilihan binari terkemuka di dunia, menawarkan pedagang a pelbagai ciri dan alatan untuk membantu mereka membuat keputusan termaklum.
ciri-ciri:
Platform Olymp Trade membolehkan anda:
- Deposit minimum Olymp Trade: $10
- perdagangan dalam pilihan binari,
- menggunakan pelbagai alat analisis, termasuk penunjuk teknikal dan analisis grafik,
- sesuaikan platform mengikut keutamaan individu anda,
- menerima pemberitahuan tentang peristiwa perdagangan dan perubahan dalam keadaan pasaran.
Adakah Olymp Trade sah di Bhutan?
Dalam senario semasa, ketiadaan peraturan rasmi mengenai perdagangan pilihan binari dalam talian di Bhutan bermakna ia tidak dianggap haram. Ya, Olymp Trade ialah broker pilihan binari yang sah di Bhutan.
(Amaran risiko: Modal anda boleh berisiko)
Bagaimana untuk mendaftar untuk broker binari di Bhutan
Apabila mencari broker pilihan binari, anda perlu melakukan penyelidikan anda untuk memastikan bahawa syarikat yang anda mendaftar adalah bereputasi. Satu cara untuk melakukan ini adalah dengan menyemak tapak web broker dan membaca mana-mana ulasan yang telah ditulis tentang mereka. Anda juga boleh tanya rakan atau ahli keluarga anda jika mereka mempunyai pengalaman dengan broker tertentu.
Sebaik sahaja anda telah mengecilkan senarai broker anda, ia adalah penting untuk mendaftar untuk akaun dengan yang paling memenuhi keperluan anda. Anda perlu buka akaun dengan salah satu daripada broker ini dan kemudian membiayai akaun anda untuk memulakan dagangan.

Apabila anda mendaftar untuk broker Pilihan Perduaan, anda perlu menyediakan maklumat peribadi seperti nama, alamat e-mel dan nombor telefon anda. Anda akan diminta untuk menyediakan bukti pemastautin dan identiti. Kebanyakan platform Binary Options memerlukan a deposit minimum sebelum anda boleh mula berdagang. The jumlah yang diperlukan akan berbeza-beza bergantung kepada broker anda telah memilih untuk mendaftar. Sebaik sahaja anda telah menemui broker, anda mesti membuat akaun dan mendepositkan wang ke dalamnya.

Seterusnya, anda perlu memuat turun platform dagangan perisian. Perisian ini akan membolehkan anda berdagang pilihan binari pada platform broker. Akhirnya, anda mesti sediakan akaun dagangan anda dengan memilih tahap risiko dan jumlah pelaburan anda.
(Amaran risiko: Modal anda boleh berisiko)
Adakah perdagangan Pilihan Perduaan sah di Bhutan?
ya, perdagangan pilihan binari adalah sah di Bhutan. Bhutan telah menjadi ahli Pertubuhan Bangsa-Bangsa Bersatu sejak 1971 dan merupakan penandatangan pelbagai perjanjian dan konvensyen antarabangsa yang menjamin perlindungan hak individu, termasuk yang berkaitan dengan transaksi kewangan.
Peraturan kewangan di Bhutan
Bhutan, sebuah negara terkurung daratan yang terletak di timur Himalaya, mempunyai sejarah unik dengan kewangan yang telah membawa kepada beberapa perkara yang menarik. keputusan kawal selia berkenaan sektor tersebut. Beberapa tahun lalu, Bhutan mengharamkan perbankan komersial sama sekali, menjadi satu-satunya negara di dunia yang berbuat demikian. Dasar ini dilaksanakan untuk memberi insentif untuk menyimpan dan membina kekayaan dalam kerajaan dan mengurangkan pergantungan kepada bantuan asing. Oleh itu, peraturan kewangan Bhutan menjurus kepada memelihara nilai budaya dan membangunkan ekonomi domestik.
Bhutan telah membuat kemajuan besar dalam pembangunan ekonomi dan kini diklasifikasikan sebagai negara berpendapatan sederhana.
(Amaran risiko: Modal anda boleh berisiko)
Salah satu pemacu kritikal pembangunan ekonomi Bhutan ialah pengawal selia kewangannya. The Lembaga Kemajuan Sektor Kewangan (FSDA) mengawal selia dan membangunkan sektor kewangan di Bhutan. FSDA telah digantikan oleh RMA. Monetari Diraja Bhutan ialah bank pusat Bhutan. Ia adalah ahli Perikatan untuk Rangkuman Kewangan. Tujuan utama Pihak Berkuasa adalah untuk merangka dan melaksanakan dasar monetari dan menggalakkan kestabilan kewangan dan sistem pembayaran yang cekap di Bhutan.

Bagaimana untuk mendepositkan dana untuk perdagangan Opsyen Binari
Apabila mencari platform dagangan Pilihan Perduaan, salah satu perkara yang paling penting untuk diperiksa ialah bagaimana anda boleh mendepositkan dana anda. Kebanyakan platform akan menawarkan pelbagai kaedah, tetapi sesetengahnya akan lebih mudah dan mesra pengguna daripada yang lain.
Menambah wang ke akaun dagangan pilihan binari anda adalah proses yang sangat mudah. Kebanyakan broker akan menerima pelbagai kaedah pembayaran, memudahkan anda untuk bermula dengan cepat.

Dua kaedah paling popular untuk mendepositkan dana ialah kad kredit/debit atau pindahan wang melalui bank. Walau bagaimanapun, beberapa platform juga menawarkan e-dompet dan kaedah pembayaran lain. Anda harus sentiasa menyemak ketersediaan kaedah ini sebelum membuka akaun dengan platform.
(Amaran risiko: Modal anda boleh berisiko)
Bagaimana untuk menarik diri
Terdapat beberapa cara yang boleh anda lakukan untuk mengeluarkan dana daripada akaun dagangan pilihan binari anda. Setiap platform akan mempunyai set prosedur sendiri untuk melakukan ini, jadi anda mesti membiasakan diri dengan proses tersebut sebelum anda mula berdagang.
Secara umumnya, terdapat tiga cara untuk mengeluarkan wang daripada akaun pilihan binari: pindahan kawat, pengeluaran kad kredit atau cek kertas. Sesetengah platform juga membenarkan anda menggunakan pemproses pembayaran pihak ketiga seperti PayPal atau Skrill. Semak terma dan syarat platform tertentu anda untuk melihat sama ada mereka menawarkan perkhidmatan ini.

Bagaimana untuk berdagang Pilihan Perduaan di Buthan
Pilihan binari ialah a bentuk pelaburan di mana anda meramalkan pergerakan masa hadapan sesuatu aset. Jika ramalan anda betul, anda menerima bayaran. Perdagangan pilihan binari telah menjadi semakin popular sejak beberapa tahun kebelakangan ini kerana ia menawarkan peniaga peluang untuk membuat keuntungan yang tinggi dalam tempoh yang singkat.

Banyak broker menawarkan perdagangan pilihan binari, dan adalah penting untuk memilih a broker yang bereputasi dan boleh dipercayai. Ia juga penting untuk belajar sebanyak mungkin tentang perdagangan pilihan binari sebelum mula berdagang. Disana ada banyak sumber tersedia dalam talian yang boleh membantu anda bermula.
Ikuti langkah mudah ini untuk berdagang pilihan binari dengan mana-mana broker:
Langkah #1: Kaji arah aliran pasaran pilihan binari
Anda boleh mengkaji trend pasaran pilihan binari dalam beberapa cara yang berbeza. Cara pertama adalah menggunakan analisis teknikal. Ini melibatkan melihat data sejarah aset tertentu untuk meramalkan pergerakan masa depannya. Anda boleh menggunakan penunjuk seperti purata bergerak, Bollinger band dan stokastik untuk membantu anda membuat ramalan anda.

Satu lagi cara untuk mengkaji trend pasaran pilihan binari adalah melalui analisis asas. Ini melibatkan melihat faktor ekonomi asas yang boleh menjejaskan harga aset. Contohnya, anda mungkin melihat keluaran data kewangan, acara berita atau perkembangan politik.
(Amaran risiko: Modal anda boleh berisiko)
Langkah #2: Pilih pasaran anda
Apabila berdagang pilihan binari, memilih pasaran di mana anda mempunyai pemahaman adalah penting. Memilih panggilan dengan turun naik yang cukup juga penting untuk mencipta peluang perdagangan.

Pasaran yang paling popular untuk perdagangan pilihan binari ialah pasaran mata wang, pasaran komoditi dan pasaran saham. Pasaran mata wang adalah yang paling aktif dan tidak menentu, menjadikannya pasaran terbaik untuk pedagang yang mencari keuntungan cepat. Pasaran komoditi kurang tidak menentu berbanding pasaran mata wang, tetapi ia menawarkan lebih banyak peluang untuk berdagang daripada pasaran saham.
Langkah #3: Pilih harga mogok dan tamat tempoh kontrak
Apabila berdagang pilihan binari, anda mesti memilih harga mogok dan tamat tempoh kontrak. Harga mogok ialah titik di mana anda percaya aset itu akan luput, dan tamat kontrak ialah berapa lama anda perlu menunggu sehingga itu berlaku. Anda boleh memilih mana-mana harga mogok dan penghujung yang anda inginkan, tetapi penting untuk diingat bahawa pembayaran akan berbeza bergantung pada dua faktor tersebut.

Langkah #4: Letakkan dagangan
Apabila berdagang pilihan binari, anda mempunyai dua pilihan: untuk letakkan perdagangan Panggilan atau perdagangan Letakkan.
A Panggilan perdagangan ialah apabila anda berfikir harga aset akan naik pada masa pilihan tamat tempoh.
A Letakkan perdagangan ialah apabila anda berfikir harga aset akan turun pada masa pilihan tamat tempoh.

Langkah #5: Keluar daripada perdagangan atau tunggu sehingga tamat tempoh
Apabila berdagang pilihan binari, anda kadangkala akan mendapati diri anda berada dalam situasi di mana anda mahu keluar dari perdagangan sebelum ia tamat tempoh. Ini mungkin atas beberapa sebab, seperti jika harga bergerak ke arah yang salah atau jika anda akan mengambil keuntungan anda dan berlari.

Anda boleh keluar daripada perdagangan dua cara sebelum tamat tempoh: oleh mengambil pilihan keluar awal atau menunggu ia tamat tempoh.
Pilihan keluar awal tersedia pada beberapa platform pilihan binari. Ini membolehkan anda tutup dagangan anda sebelum tamat tempoh tetapi pada a pembayaran dikurangkan.
Kesimpulan: Broker Pilihan Perduaan boleh didapati di Bhutan
Artikel ini menyenaraikan lima broker pilihan binari teratas dan platform di Bhutan.
Ini adalah tempat yang bagus untuk bermula jika anda sedang mencari a broker pilihan binari yang boleh dipercayai dan boleh dipercayai.
Soalan Lazim (Soalan Lazim) tentang Pilihan Perduaan di Bhutan
Adakah perdagangan binari sah di Bhutan?
Ya, perdagangan Opsyen Binari dibenarkan sepenuhnya di Bhutan. Pada masa ini, ketiadaan peraturan khusus yang mengawal perdagangan pilihan binari dalam talian di Bhutan tidak mengkategorikannya sebagai haram. Anda mempunyai pilihan untuk memilih broker yang boleh dipercayai seperti IQ Option, Olymp Trade, Quotex atau Pocket Option untuk usaha perdagangan tanpa kerumitan.
Berapa banyak wang yang anda perlukan di Bhutan untuk berdagang pilihan binari?
Jumlah wang yang diperlukan untuk berdagang pilihan binari di Bhutan berbeza-beza bergantung pada platform dagangan, pelan tindakan dan tahap selera risiko. Pilih broker yang mengikut kemampuan anda dan gunakan teknik pengurusan risiko yang berhemat
Apakah kaedah pembayaran biasa untuk broker pilihan binari di Bhutan?
Kaedah pembayaran yang paling biasa digunakan oleh peniaga Bhutan ialah kad kredit MasterCard dan Visa, pemindahan dalam talian bank dan dompet digital.
Apakah risiko pilihan perdagangan binari di Bhutan?
Pilihan binari perdagangan adalah sangat berisiko di Bhutan kerana ia tidak dikawal dan spekulatif, menjadikan penipuan dan penipuan sangat pasti. Kemudahan penggunaan pilihan binari boleh menyembunyikan bahaya ini untuk pedagang, yang menghadapi risiko tinggi kehilangan dana mereka.
Bolehkah anda berdagang pilihan binari secara percuma di Bhutan?
Ya, anda boleh menggunakan akaun demo yang ditawarkan oleh broker dan berdagang pilihan binari secara percuma tanpa melabur sebarang wang.
Bolehkah saya mendapat keuntungan daripada perdagangan pilihan binari di Bhutan?
Tidak semua peniaga di Bhutan membuat wang dengan Pilihan Perduaan; ramai yang mengalami kerugian, selalunya disebabkan oleh broker yang tidak boleh dipercayai. Pilih broker yang bereputasi dan bangunkan disiplin perdagangan, kemahiran analisis dan pengurusan risiko untuk meningkatkan peluang anda untuk berjaya.
Apakah broker pilihan binari teratas di Bhutan?
Sama seperti mana-mana perdagangan, Pilihan Perduaan membawa risiko mereka sendiri. Adalah dinasihatkan untuk berdagang dengan broker pilihan binari berlesen yang terkenal dengan perkhidmatan yang luar biasa kepada pedagang Bhutan. Dalam hal ini, pilihan bereputasi termasuk Pocket Option, IQ Option, Olymp Trade dan Quotex.
(Amaran risiko: Modal anda boleh berisiko)


