Kolombia adalah negara berbahasa Spanyol di Amerika Selatan. Sebagai trader Kolombia, memilih broker atau platform Binary Options yang tepat sangat penting untuk kesuksesan Anda sebagai investor. Anda ingin mencari a broker terkemuka dengan rekam jejak yang solid yang menawarkan mudah digunakan platform dengan banyak fitur. Lima broker di bawah ini adalah beberapa yang terbaik di industri dan menawarkan semua yang Anda butuhkan untuk sukses.

Di bawah ini adalah lima broker opsi biner terbaik yang dapat Anda pilih:
100+ Pasar
- min. setor $10
- $10.000 demo
- Platform profesional
- Keuntungan tinggi hingga 95%
- Penarikan cepat
- sinyal
300+ Pasar
- Setoran minimum $10
- Akun demo gratis
- Pengembalian tinggi hingga 100% (jika prediksi benar)
- Platformnya mudah digunakan
- dukungan 24/7
100+ Pasar
- Menerima klien internasional
- Pembayaran tinggi 95%+
- Platform profesional
- Setoran cepat
- Perdagangan Sosial
- Bonus gratis
100+ Pasar
- Platform profesional
- Akun demo gratis
- Setoran minimum $10
- Webinar dan pendidikan
- Pembayaran tinggi
100+ Pasar
- min. setor $10
- $10.000 demo
- Platform profesional
- Keuntungan tinggi hingga 95%
- Penarikan cepat
- sinyal
dari $10
(Peringatan risiko: Perdagangan berisiko)
300+ Pasar
- Setoran minimum $10
- Akun demo gratis
- Pengembalian tinggi hingga 100% (jika prediksi benar)
- Platformnya mudah digunakan
- dukungan 24/7
dari $10
(Peringatan risiko: Modal Anda mungkin berisiko)
100+ Pasar
- Menerima klien internasional
- Pembayaran tinggi 95%+
- Platform profesional
- Setoran cepat
- Perdagangan Sosial
- Bonus gratis
dari $50
(Peringatan risiko: Perdagangan berisiko)
100+ Pasar
- Platform profesional
- Akun demo gratis
- Setoran minimum $10
- Webinar dan pendidikan
- Pembayaran tinggi
dari $10
(Peringatan risiko: Perdagangan berisiko)
Apa yang akan Anda baca di Posting ini
Daftar 4 broker Biner terbaik di Kolombia
Umumnya, ada banyak yang cocok broker Binary Options di seluruh dunia. Dengan begitu banyak pilihan, sulit untuk mempertahankan gambaran umum. Oleh karena itu, kami telah memilih yang terbaik untuk Anda. Jadi, mari kita cari tahu lebih banyak tentang broker biner terbaik di Kolombia.
1. Quotex
Quotex adalah diatur broker yang menawarkan pedagangnya a berbagai aset dan pilihan. Quotex telah beroperasi sejak tahun 2014 dan dimiliki oleh FBS Markets Inc.
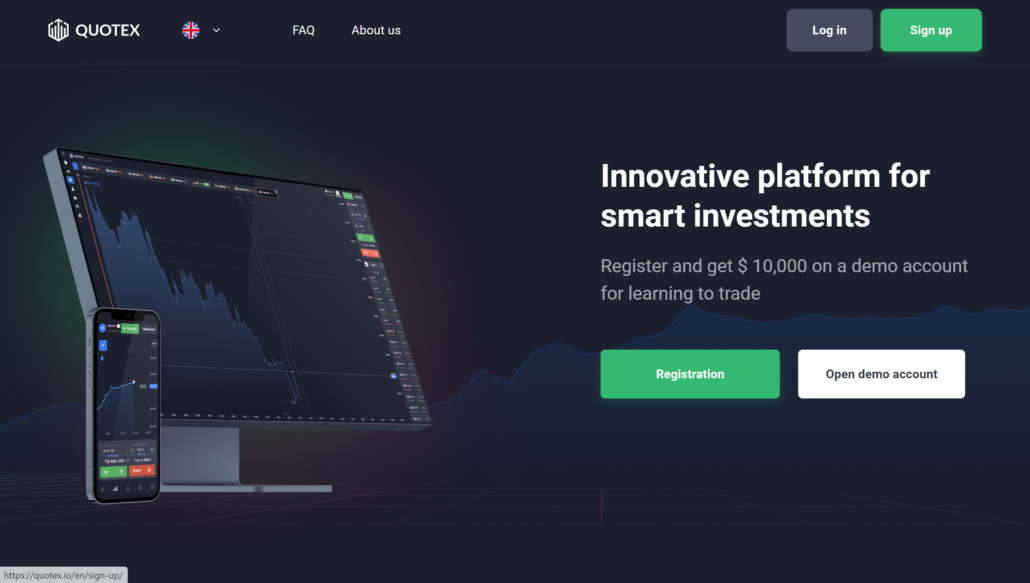
Quotex adalah broker opsi biner yang berbasis di Kepulauan Marshall. Ini menawarkan berbagai aset, termasuk saham, komoditas, indeks, dan pasangan Forex. Quotex adalah salah satu dari sedikit broker yang menawarkan akun demo dengan tidak perlu setoran.
Quotex adalah pilihan populer di kalangan pedagang Binary Options karena mudah digunakan platform. Platform ini tersedia di bahasa berbeda.
Fitur:
- Setoran minimum rendah hanya $10
- Bebas Akun demo kutipan dengan $10.000 dalam dana virtual
- Itu proses penarikan memakan waktu 24 jam.
- Mudah digunakan platform yang cocok untuk pemula dan trader berpengalaman
- Berbagai macam aset dasar, termasuk pasangan mata uang, saham, indeks, dan komoditas
- Spread kompetitif mulai dari hanya satu pip.
- Parameter perdagangan yang dapat disesuaikan termasuk tingkat risiko, waktu kedaluwarsa, dan jumlah investasi
- 24/7 Dukungan Quotex melalui obrolan langsung, email, atau telepon.
(Peringatan risiko: Modal Anda bisa berisiko)
2. Opsi IQ
IQ Option adalah broker opsi biner yang menawarkan perdagangan online untuk berbagai aset, termasuk saham, pasangan valas, komoditas, dan mata uang kripto.

Platform IQ Option adalah platform berpemilik yang tersedia sebagai platform berbasis web, aplikasi seluler, dan aplikasi desktop. Platform ini dirancang untuk keduanya trader pemula dan berpengalaman. Dia sederhana dan mudah digunakan, namun ia menawarkan banyak fitur dan alat.
IQ Option menawarkan berbagai aset untuk berdagang, termasuk pasangan mata uang, saham, indeks, komoditas, dan mata uang kripto.
Fitur:
- Broker opsi biner dengan setoran minimum saja $10
- Akun demo IQ Option dengan $10.000 uang virtual
- Akun nyata dengan keuntungan hingga 92%
- 24/7 Dukungan IQ Option
- Aplikasi perdagangan seluler
- Lebih dari 500 aset untuk diperdagangkan
- IQ Option menyediakan Webinar dan tutorial bagi para pedagangnya.
(Peringatan risiko: Modal Anda bisa berisiko)
3. Opsi Saku
Pocket Option adalah broker opsi biner yang didirikan pada tahun 2017. Perusahaan ini berbasis di Kepulauan Marshall dan dimiliki oleh Gembell Terbatas.
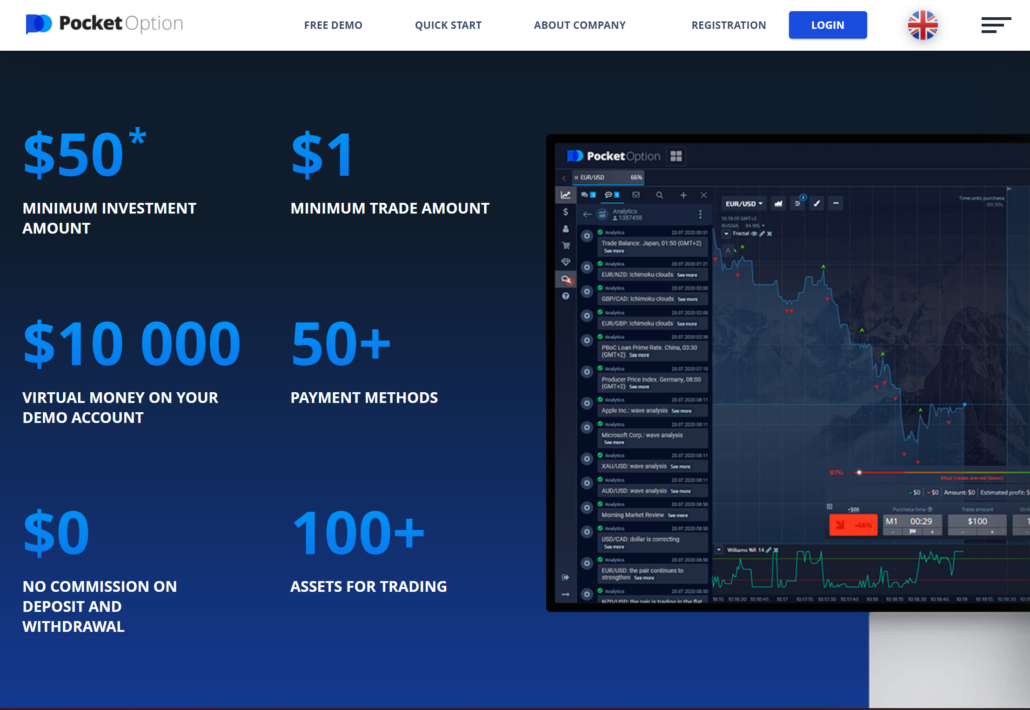
Situs web Pocket Option tersedia di 10 bahasa yang berbeda. Setoran minimum untuk membuka akun adalah $50, dan ukuran perdagangan minimum adalah $1. Ini menawarkan Akun demo IQ Option dengan uang maya.
Pocket Option menawarkan berbagai macam aset untuk diperdagangkan, termasuk pasangan mata uang, komoditas, saham, dan indeks. Broker juga menyediakan beberapa fitur unik, seperti perdagangan sosial.
Fitur:
- Turnamen perdagangan: Setiap Hari, Turnamen Berbeda dengan Hadiah Besar
- Bonus setoran 50%
- Perlindungan perdagangan 100%n
- Setoran minimum Pocket Option hanya $50
- Perdagangan minimal $1
- Keuntungan hingga 96% / berdagang hanya dalam 30 detik
- Metode setoran termasuk: kartu kredit, e-wallet, atau bitcoin
- Menarik keuntungan Anda adalah cepat & mudah
- 24/7 dukungan langsung
(Peringatan risiko: Modal Anda bisa berisiko)
4.Olymp Trade
Olymp Trade adalah broker opsi biner yang menawarkan perdagangan online di berbagai aset, termasuk mata uang, saham, komoditas, dan indeks. Olymp Trade dimiliki oleh perusahaan induk bernama Smartex International Ltd. Olymp Trade terdaftar di St. Vincent dan Grenadines dan diatur oleh an organisasi internasional independen yang menyediakan layanan penyelesaian sengketa untuk perdagangan forex, CFD, dan opsi biner.
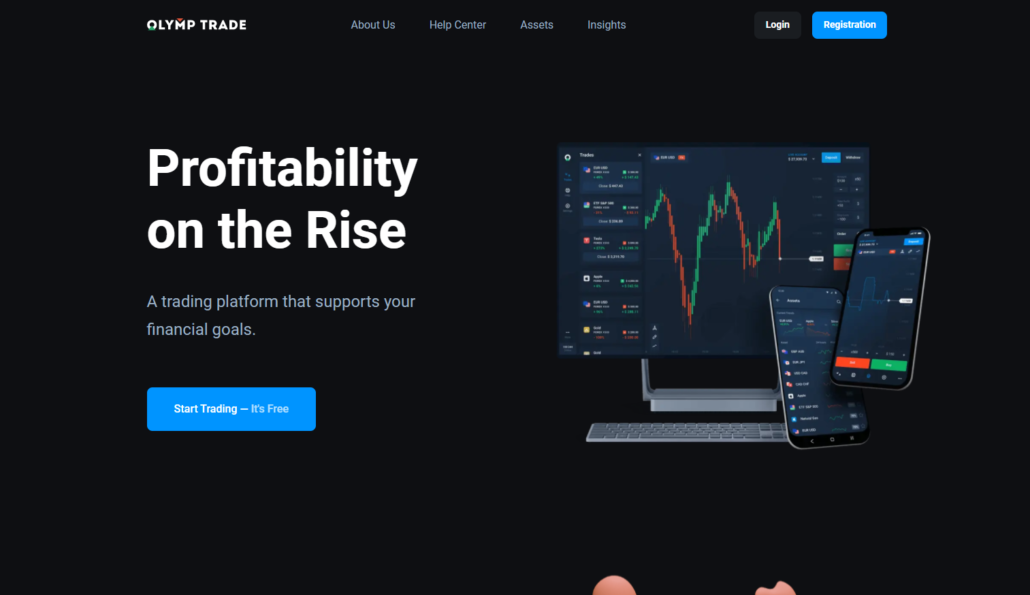
Situs web perusahaan tersedia di 14 bahasa, termasuk bahasa Inggris, Prancis, Spanyol, Rusia, dan Thailand. Olymp Trade menawarkan dukungan pelanggan 24/7 melalui siaran langsung.
Fitur:
- SEBUAH platform yang mudah digunakan yang cocok untuk keduanya trader pemula dan berpengalaman
- SEBUAH berbagai aset, termasuk forex, saham, komoditas, dan mata uang kripto
- Setoran minimal hanya $10
- SEBUAH Akun demo Olymp Trade dengan $10.000 dalam dana virtual
- SEBUAH aplikasi Olymp Trade untuk perangkat Android dan iOS
- 24/7 dukungan pelanggan
- SEBUAH pembayaran murah hati hingga 92% untuk perdagangan yang sukses
(Peringatan risiko: Modal Anda bisa berisiko)
Cara mendaftar ke broker Opsi Biner di Kolombia
Broker opsi biner menawarkan cara sederhana bagi para pedagang untuk bertaruh apakah harga suatu aset akan naik atau turun selama waktu yang ditentukan. Saat Anda mendaftar ke broker opsi biner, Anda perlu menyediakan beberapa informasi pribadi dan danai akun Anda.

Berikut adalah langkah-langkah yang perlu Anda ambil untuk mendaftar ke broker opsi biner:
1. Pilih broker – Ada banyak pilihan biner yang berbeda. Lakukan riset untuk menemukan yang sesuai dengan gaya dan kebutuhan trading Anda.
2. Buat sebuah akun – Setelah Anda memilih broker, Anda dapat melanjutkan untuk membuat akun di situs web broker.
3. Setor dana ke akun Anda, dan Anda dapat mulai berdagang
(Peringatan risiko: Modal Anda bisa berisiko)
Apakah Opsi Biner legal di Kolombia?
Perdagangan Opsi Biner adalah hukum di Kolombia. Negara ini adalah anggota dari Dana Moneter Internasional dan Bank Dunia, dan ekonominya relatif beragam. Ada tidak ada batasan pada perdagangan valuta asing, dan broker opsi biner dapat beroperasi secara bebas di negara.
Opsi Biner legal di Kolombia. Namun, ada beberapa batasan tentang bagaimana mereka dapat diperdagangkan. Misalnya, Opsi Biner tidak dapat diperdagangkan di Bursa Efek Kolombia.
(Peringatan risiko: Modal Anda bisa berisiko)
Regulasi keuangan di Kolombia
Regulasi keuangan di Kolombia sedikit berbeda dengan di negara lain. Sektor keuangan diawasi oleh Superintendencia de Bancos dan Seguros, yang merupakan bagian dari Menteri Keuangan. Superintendencia memastikan bahwa bank dan perusahaan asuransi beroperasi dengan aman dan sehat, melindungi konsumen, dan mempromosikan stabilitas keuangan.

Kolombia memiliki dua jenis utama lembaga keuangan: bank dan lembaga keuangan bukan bank. Bank tunduk pada lebih banyak regulasi daripada lembaga keuangan non-bank.
Lanskap peraturan keuangan di Kolombia adalah terus berkembang. Perubahan terbaru adalah sebagai tanggapan terhadap pandemi global, yang telah sangat berdampak pada perekonomian.

Pemerintah Kolombia telah mengambil beberapa langkah untuk melindungi sistem keuangan negara dari pandemi. Beberapa langkah telah mereka lakukan, antara lain:
- Itu peningkatan modal yang dibutuhkan untuk bank
- memperkenalkan moratorium pembayaran pinjaman
- menjamin simpanan sampai jumlah tertentu
(Peringatan risiko: Modal Anda bisa berisiko)
Cara menyetor dana untuk perdagangan Opsi Biner di Kolombia
Menyetorkan dana ke akun perdagangan opsi biner Anda cukup sederhana. Sebagian besar broker akan menawarkan berbagai metode setoran, termasuk kartu kredit, transfer kawat, dan dompet elektronik seperti PayPal atau Skrill.

Untuk melakukan deposit, pilih metode yang disukai dan ikuti petunjuk di situs web broker. Setelah dana berhasil ditransfer, Anda dapat mulai berdagang segera.
(Peringatan risiko: Modal Anda bisa berisiko)
Bagaimana cara menarik?
Proses penarikan dana dari akun opsi biner Anda cukup sederhana. Dalam kebanyakan kasus, Anda harus masuk ke akun Anda dan meminta penarikan. Dana kemudian akan ditransfer ke rekening Anda dalam beberapa hari.

Namun, ada beberapa hal yang harus Anda ingat saat menarik dana dari akun opsi biner Anda:
- Anda kemungkinan besar akan menjadi dikenakan biaya untuk setiap penarikan yang Anda lakukan.
- Anda mungkin diminta untuk memberikan dokumen identifikasi untuk memverifikasi identitas Anda.
- Mungkin kamu terbatas dalam jumlah uang Anda dapat menarik diri dari akun Anda.
(Peringatan risiko: Modal Anda bisa berisiko)
Cara memperdagangkan Opsi Biner di Kolombia: Tutorial lengkap
Ketika berbicara tentang opsi biner perdagangan, ada beberapa hal berbeda yang perlu Anda perhitungkan. Ini termasuk fakta bahwa ada beberapa berbagai jenis opsi biner tersedia, serta fakta bahwa ada beberapa berbagai cara Anda dapat menukarkannya. Pada artikel ini, kami akan memberikan gambaran umum tentang cara mengubah opsi biner, serta beberapa tips tentang cara meningkatkan peluang sukses Anda.

Berikut adalah panduan langkah demi langkah terperinci tentang perdagangan opsi biner secara efisien dan menghasilkan pengembalian yang baik:
Langkah #1: Pelajari tren pasar opsi biner
Untuk menjadi pedagang opsi biner yang sukses, Anda harus bisa membaca dan memahami trend pasar. Dengan memahami tren pasar, Anda dapat membuat keputusan yang lebih tepat tentang arah mana pasar kemungkinan akan bergerak.

Ada banyak metode untuk mempelajari tren pasar:
- Salah satu caranya adalah dengan gunakan garis tren. Garis tren adalah alat yang digunakan analis teknis untuk mengidentifikasi arah pasar. Mereka dibuat dengan menghubungkan serangkaian tertinggi atau terendah pada grafik harga.
- Cara lain untuk mempelajari tren pasar adalah dengan gunakan indikator teknis. Indikator teknis adalah perhitungan matematis yang digunakan untuk mempelajari pasar juga.
(Peringatan risiko: Modal Anda bisa berisiko)
Langkah #2: Pilih pasar Anda
Saat Anda memperdagangkan opsi biner, pilih a pasar Anda mengerti sangat penting. Anda akan lebih sukses jika Anda berdagang di pasar yang Anda kenal dan pahami dengan baik.

Ada banyak pasar berbeda yang dapat Anda perdagangkan, jadi penting untuk meneliti dan menemukan yang sesuai dengan kebutuhan Anda. Anda harus mempertimbangkan jenis aset Anda ingin berdagang, kerangka waktu yang ingin Anda perdagangkan di, dan tingkat risiko yang membuat Anda nyaman.

Langkah #3: Pilih harga kesepakatan dan masa berlaku kontrak
Saat memperdagangkan opsi biner, kunci suksesnya adalah memilih harga kesepakatan dan tanggal kedaluwarsa yang tepat.
- Harga kesepakatan adalah harga di mana seorang pedagang akan membeli atau menjual aset yang mendasarinya. Saat memilih harga kesepakatan, Anda harus mempertimbangkan volatilitas aset yang mendasarinya.
- Tanggal kedaluwarsa adalah tanggal ketika kontrak opsi berakhir. Perjanjian akan berakhir jika tidak dilaksanakan pada tanggal tersebut.

Langkah #4: Tempatkan perdagangan
Saat memperdagangkan opsi biner, ada beberapa hal yang perlu Anda lakukan untuk menempatkan perdagangan yang sukses:
- Pertama, penting bahwa Anda memiliki pemahaman yang jelas tentang apa yang Anda lakukan. Anda hanya boleh berdagang dengan uang yang Anda mampu untuk kehilangan, dan Anda harus selalu waspadai resikonya terlibat.
- Kedua, Anda harus memilih broker terkemuka dengan rekam jejak yang baik. Broker di luar sana diciptakan sama. Lakukan riset dan pastikan Anda memilih broker teregulasi dengan reputasi baik.

Langkah #5: Keluar dari perdagangan atau tunggu hingga aktivitas perdagangan itu berakhir
Saat Anda berada dalam perdagangan Opsi Biner, Anda dapat keluar dari perdagangan sebelum kedaluwarsa. Hal ini dapat dilakukan dengan menjual kontrak opsi kembali ke pialang. Anda akan keluar dari perdagangan dengan laba jika harga pasar di atas harga kesepakatan saat Anda menjual kontrak. Jika harga pasar di bawah harga kesepakatan saat Anda menjual kontrak, Anda akan keluar dari perdagangan dengan kehilangan.

Jika Anda ingin menunggu sampai opsi biner berakhir, Anda akan keluar dari perdagangan dengan a untung atau rugi, tergantung pada harga pasar akhir dan harga kesepakatan.
Kesimpulan: Trading Opsi Biner tersedia di Kolombia
Artikel ini memberikan perbandingan lima broker perdagangan opsi biner terbaik. Dengan memahami fitur dan keuntungan dari setiap platform, Anda dapat memilih salah satu paling sesuai dengan kebutuhan Anda.

Kami juga telah menyediakan panduan untuk memperdagangkan opsi biner sehingga Anda dapat segera mulai.
(Peringatan risiko: Modal Anda bisa berisiko)


