Antígua e Barbuda são pequenas ilhas no Caribe. Você pode encontrá-los em um mapa entre Brasil e os Estados Unidos. As opções binárias são famosas por causa de como é simples ao comércio. Hoje, mais e mais pessoas estão começando a entrar nesse tipo de mercado financeiro. Se você está nas Ilhas Antígua e Barbuda pensando em iniciar Opções Binárias, mas está achando difícil saber quais corretor de opções binárias é melhor para você, então este artigo o cobre. Aqui está tudo o que você precisa saber sobre negociação binária como um Antiguan.

Aqui estão os cinco melhores corretores de opções binárias para negociar em Antígua e Barbuda:
Veja os 5 melhores corretores de opções binárias em Antígua e Barbuda:
Mais de 100 mercados
- Aceita clientes internacionais
- Pagamentos elevados 95%+
- Plataforma profissional
- Depósitos rápidos
- Negociação Social
- Bônus grátis
Mais de 100 mercados
- Min. depósito $10
- $10,000 demo
- Plataforma profissional
- Lucro alto até 95%
- Retiradas rápidas
- Sinais
Mais de 300 mercados
- Depósito mínimo $10
- Conta de demonstração gratuita
- Alto retorno até 100% (no caso de uma previsão correta)
- A plataforma é fácil de usar
- Suporte 24/7
Mais de 100 mercados
- Plataforma profissional
- Conta de demonstração gratuita
- Depósito mínimo $10
- Webinars e educação
- Pagamentos altos
Mais de 100 mercados
- Aceita clientes internacionais
- Pagamentos elevados 95%+
- Plataforma profissional
- Depósitos rápidos
- Negociação Social
- Bônus grátis
a partir de $50
(Aviso de risco: negociar é arriscado)
Mais de 100 mercados
- Min. depósito $10
- $10,000 demo
- Plataforma profissional
- Lucro alto até 95%
- Retiradas rápidas
- Sinais
a partir de $10
(Aviso de risco: negociar é arriscado)
Mais de 300 mercados
- Depósito mínimo $10
- Conta de demonstração gratuita
- Alto retorno até 100% (no caso de uma previsão correta)
- A plataforma é fácil de usar
- Suporte 24/7
a partir de $10
(Aviso de risco: seu capital pode estar em risco)
Mais de 100 mercados
- Plataforma profissional
- Conta de demonstração gratuita
- Depósito mínimo $10
- Webinars e educação
- Pagamentos altos
a partir de $10
(Aviso de risco: negociar é arriscado)
O que você vai ler neste Post
Lista dos 5 melhores corretores binários em Antígua e Barbuda
Geralmente, existem muitos corretores adequados em todo o mundo. Com tantas opções, é difícil manter uma visão geral. Por isso, selecionamos os melhores para você. Então, vamos saber mais sobre o melhores corretores binários em Antígua e Barbuda.
#1. Quotex
Quotex é um sem comissão corretor binário que negocia Opções Binárias para vários países europeus e outros países. A empresa tem seu escritório principal no Reino Unido. O Quotex é bem conhecido porque, embora tenha começado em 2019, já possui muitos traders na plataforma e oferece muitos instrumentos para negociar com.
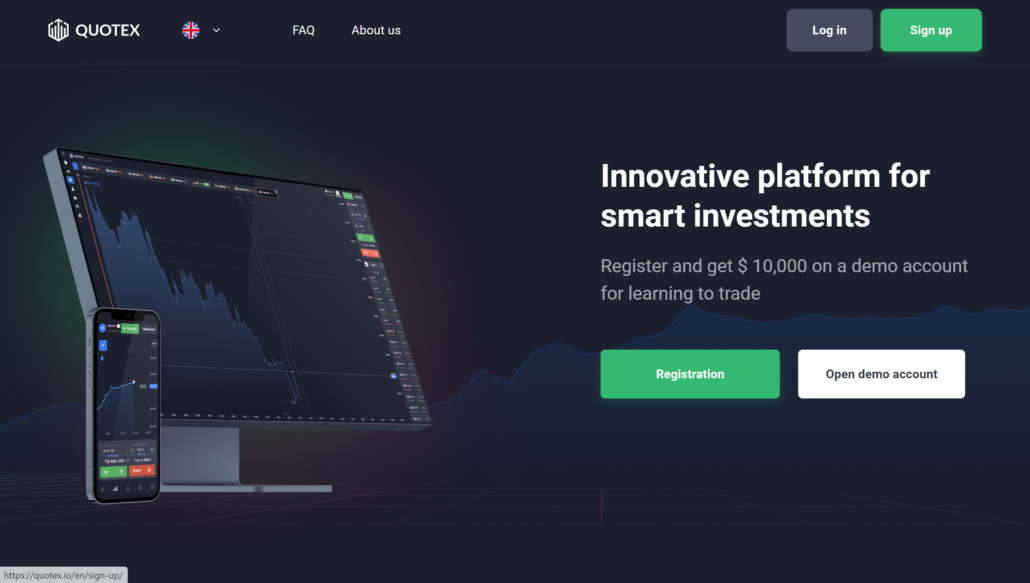
Os comerciantes Quotex têm que deposite pelo menos $10 antes de negociar na plataforma. A plataforma é Baseado em WebTrader. Os comerciantes também podem negociar usando a versão do aplicativo móvel. A corretora tem conta de treinamento, conhecido como conta de demonstração o que é útil para muitos novos traders que desejam ter uma ideia das Opções Binárias antes de usar uma conta real.
Recursos:
- Inicial depósito: $10
- Instrumentos: forex, ações, metais, energias
- Plataforma: aplicativo, web
- Suporte: 24 horas/7 dias
- Alavancagem: 1:500
- Bônus: Sem bônus
O Quotex é legal em Antígua e Barbuda?
Na verdade, a negociação de opções binárias através do Quotex está inteiramente dentro dos limites da lei e é legal para uso em Antígua e Barbuda. A ausência de regulamentações específicas relativas à negociação online de opções binárias em Antígua e Barbuda não a considera ilegal.
(Aviso de risco: seu capital pode estar em risco)
#2. Opção IQ
Todo mundo sabe IQ Option como um corretor Forex, mas também é um corretor de opções binárias. A empresa começou inicialmente fornecendo serviços de Opções Binárias para seus clientes desde sua criação em 2013. A corretora está sediada em Chipre e é até uma corretora premiada. IQ Option tem muitos instrumentos negociáveis comerciantes podem usar.
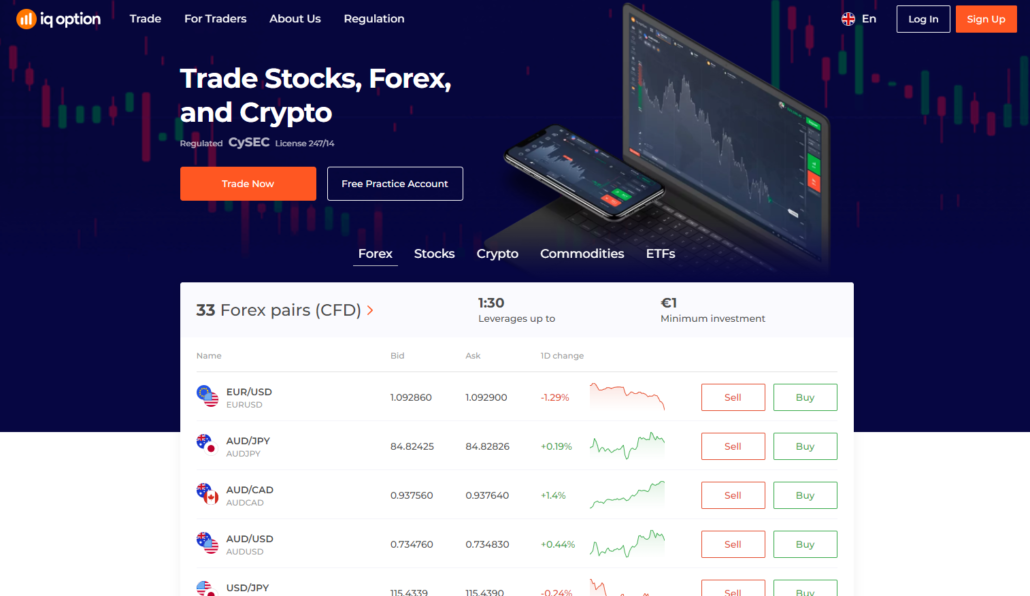
A plataforma é feita pelo próprio IQ Option do proprietário e às vezes é comparada com a plataforma MT4. A plataforma é interativo e personalizável pelos comerciantes. o conta de demonstração já está carregado com $10000 para novos e antigos comerciantes usarem para fins práticos.
A negociação de opções binárias na plataforma é direta até mesmo para novos traders.
Recursos:
- Depósito inicial: $10
- Instrumentos: OTC, ações, moedas, EFT.
- Plataforma: aplicativo móvel
- Suporte: 24 horas/7 dias
- Alavancagem: 1:500
- Bônus: Sem bônus
O IQ Option é legal em Antígua e Barbuda?
IQ Option é uma corretora de opções binárias legal e proeminente em Antígua e Barbuda, atendendo milhares de traders ativos e detendo mais de 10% de participação de mercado devido às suas características únicas. Os cidadãos de Antígua e Barbuda desfrutam de condições comerciais competitivas e tecnologia avançada sem quaisquer privilégios extras.
(Aviso de risco: seu capital pode estar em risco)
#3. Opção de bolso
Pocket Option ofertas mais de 100 instrumentos para os comerciantes usarem e é conhecido por ser um amigo do usuário plataforma do corretor. O corretor é conhecido por aceitar traders de mais de 95 países hoje. Foi criada para fornecer Opções Binárias em 2017, com sede na Ilha Marshall na Europa.

Se você deseja começar a negociar no Pocket Option, você precisa deposite pelo menos $50. A plataforma é Baseado em MT5 e baseado em aplicativo móvel. Como trader no Pocket Option, você desfrutará de alguns bônus premium em Pocket Option. A plataforma está disponível para proprietários de desktops e usuários de smartphones.
Recursos:
- Depósito inicial: $50
- Instrumentos: Ações, Forex, moedas, commodities
- Plataforma: MetaTrader 5
- Suporte: 24 horas/7 dias
- Alavancagem: 1:100
- Bônus: Bem-vindo, sindicato dos comerciantes, devolução em dinheiro, código promocional
O Pocket Option é legal em Antígua e Barbuda?
Sim, a Pocket Option é uma empresa comercial legal e renomada, ativa em Antígua e Barbuda, ganhando reconhecimento por seus serviços excepcionais e aumentando a popularidade entre os comerciantes do país. Atualmente, não existem regulamentações explícitas que considerem ilegal a negociação de opções binárias online em Antígua e Barbuda.
(Aviso de risco: seu capital pode estar em risco)
#4. Olymp Trade
Olymp Trade é um popular corretor de opções binárias que foi fundado em 2014. O corretor tinha seu escritório principal em São Vicente e Granadinas. Oferta muitos instrumentos negociáveis, o corretor tem muitos comerciantes que o patrocinam de diferentes países. Olymp Trade tem suporte que oferece mais de oito idiomas, fazendo com que a corretora atraia mais clientes.
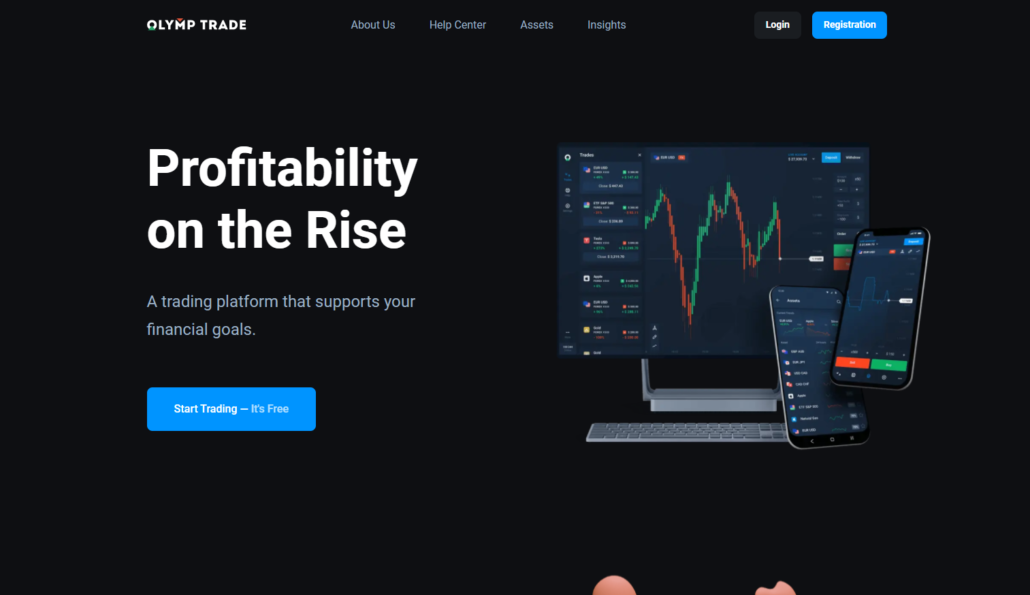
É muito fácil de abrir a conta de um trader na plataforma, esteja você usando o aplicativo móvel ou a versão da web para desktop. Como trader, você precisa fazer um depósito inicial de $10, após o qual você pode começar a fazer negócios no mercado. Olymp Trade tem sua plataforma, esta plataforma é muito fácil para os comerciantes usarem.
Recursos:
- Depósito inicial: $10
- Instrumentos: CFDs, OTCs, ações, metais
- Plataforma: Binomo
- Suporte: 24 horas/7 dias
- Alavancagem: 1:500
- Bônus: Sem bônus
O Olymp Trade é legal em Antígua e Barbuda?
Certamente, Olymp Trade é uma plataforma de negociação legítima que apresenta muitos benefícios para comerciantes em todo o mundo, incluindo aqueles vindos de Antígua e Barbuda. Como aspecto integrante da sua dedicação ao combate à fraude e ao branqueamento de capitais, a plataforma realiza diligentemente verificações abrangentes de antecedentes de todos os seus comerciantes.
(Aviso de risco: seu capital pode estar em risco)
Como se inscrever para opções binárias em Antígua e Barbuda
O bom é que as informações que você precisará fornecer ao se inscrever não são novidade para a maioria das pessoas. Como cidadão em Antígua e Barbuda, você deve ter encontrado um aplicativo ou site que exija essas informações que o corretor de opções binárias fará uso para abra sua conta.

O primeiro processo que será necessário ao se registrar é inserir seu e-mail e fornecer uma senha que você poderá usar caso saia do site ou aplicativo. Depois de inserir seu e-mail e senha, o corretor precisará que você confirme sua conta do seu correio.

Após a confirmação, para concluir seu processo de registro, você precisará fornecer um meios de identificar quem você é. Isso pode ser feito tirando uma foto do seu passaporte nacional ou carteira de motorista. O que você preferir. Após a identificação, você precisará apresentar um comprovante de localização ou uma foto do seu extrato bancário ou conta de luz.
Criar uma conta para você do lado do corretor deve levar pelo menos um dia antes de ser confirmado para começar a negociar na plataforma. Se sua conta não foi criada com sucesso em um dia, saiba que pode ser devido a um problema com um dos documentos que você enviou. Você pode continuar verificando seu e-mail para saber qual é o problema.
(Aviso de risco: seu capital pode estar em risco)
A negociação de opções binárias é legal em Antígua e Barbuda?
sim, os comerciantes de Antígua e Barbuda podem negociar Opções Binárias no país. Há sem limitação para negociar Opções Binárias. Sem estrutura é responsável por como a transação de opções binárias deve ser conduzida no país e muitos comerciantes desta ilha acham difícil saber qual corretor é o melhor para negociar.
Para negociar Opções Binárias em Antígua e Barbuda, os traders devem certificar-se de que estão negociando com corretores que tenham licenças de reguladores financeiros internacionais. Esses tipos de corretores são legítimos e podem ser contabilizados.
Receba um bônus de depósito grátis de 50% em Quotex com nosso código promocional “boboker50“
Você só pode usar este código de bônus se inscrevendo em nosso site.
(Aviso de risco: negociação envolve riscos)
Regulamento Financeiro em Antígua e Barbuda
A regulação financeira nas Ilhas de Antígua e Barbuda é dever do Comissão Reguladora de Serviços Financeiros. O FSRC é o órgão encarregado de regular todas as instituições financeiras do país.

Os deveres incluem licenciamento, fiscalização e punição de qualquer instituição financeira que não siga as leis estabelecidas pela comissão. O FSRC também é responsável pelo controle de valores mobiliários e câmbio no país.
(Aviso de risco: seu capital pode estar em risco)
Como depositar fundos para negociação de opções binárias
Financiar sua conta para Opções Binárias em qualquer corretora requer passos simples. Direto da sua zona de conforto, você pode creditar sua conta e começar a negociar em sua conta real.

Para financiar sua conta, você precisa selecione a forma de pagamento você gostaria de usar para creditar sua conta de negociação. Os métodos de pagamento são usados para ajudar os traders a carregar suas contas de negociação por vários meios. Esses meios incluem depositar dinheiro do seu banco. Isso é chamado Transferência bancária direta. Se você não deseja usar nenhum cartão, pode usar este método.

Outro método é através do uso de cartões. Por cartas, isso significa que seu cartão de débito ou crédito. Os cartões de débito e crédito geralmente são alimentados por MasterCard ou Visto, portanto, certifique-se de verificar qual tipo de cartão o corretor suporta.

Você também pode fazer depósitos de seu carteira eletrônica. Este é um meio rápido de carregar seu perfil de negociação de Opções Binárias.
Além do método de pagamento, os corretores têm uma valor mínimo que você como trader pode depositar. Isso significa que você não pode financiar sua conta com nada menos do que o valor mínimo estipulado.
(Aviso de risco: seu capital pode estar em risco)
Como retirar
A retirada é tão fácil quanto financiar sua conta. A diferença é que desta vez você está removendo dinheiro da sua conta de negociação. Isso pode ser feito por selecionando um método de retirada. O corretor fornecerá diferentes métodos que você pode escolher.

Se você deseja retirar fundos da sua conta de negociação para o seu banco, você deve selecionar a opção que diz diretamente em sua conta bancária. Depois de confirmar a conta bancária, um PIN OTP ou token será enviado para o número de telefone que você usou para se registrar. Depois de confirmar o pino OTP ou token, o corretor precisará de algum tempo para processar o pagamento em sua conta bancária.
(Aviso de risco: seu capital pode estar em risco)
Você também pode selecionar outro método, como o dinheiro que está retirando deve ser enviado para sua carteira eletrônica, se houver. Esse método também pode levar algum tempo até que o dinheiro seja refletido na carteira.

Como negociar opções binárias
Uma coisa que você precisa saber é que as Opções Binárias são um dos os negócios mais simples que podem ser feitos. Se você é um cidadão de Antígua e Barbuda que está pensando em iniciar Opções Binárias, mas não sabe como negociar, basta seguir as etapas abaixo depois de abrir uma conta com um corretor.

Etapa #1: Examinar como as tendências do mercado se movem
Há uma razão pela qual este é o primeiro passo que você precisa dar se quiser negociar Opções Binárias em seu país ou em qualquer outro lugar. Examinar as tendências do mercado é útil porque ajuda você a observe como funciona o mercado. Você saberá a que horas os preços de mercado sobem e a que horas descem.

Examinar as tendências do mercado ajuda os traders a saber quando fazer uma negociação. Na hora certa e no lugar certo. Depois de ter feito isso, você pode passar para a próxima etapa, que é selecionar seu mercado.
(Aviso de risco: seu capital pode estar em risco)
Etapa #2: preferência de mercado
A preferência de mercado é o que faz você escolher o mercado em que está negociando na plataforma.
- Duração da negociação

Isso depende de quanto tempo você gosta de negociar ou de como vê o movimento do mercado. Você pode querer negociar em dias ou semanas. Qualquer que seja a duração da negociação que você preferir, ajudará você a escolher seu mercado.
- Seu interesse
Selecionar um mercado de acordo com seu interesse significa que você escolhe um mercado de acordo com como algo que você gosta faz você escolher o mercado. Por exemplo, escolher um mercado por causa de um instrumento.
Passo #3: Escolha um preço e hora de término
Isso significa que você seleciona um preço com o qual deseja negociar. O preço com o qual você pode negociar depende do corretor. Depois de escolher um preço, você pode definir o hora em que você deseja que o comércio seja fechado.
Passo #4: Coloque o comércio
Depois de definir um preço e um horário de término, você pode prosseguir para colocar uma negociação no gráfico.

Etapa #5: Saia da negociação ou fique e espere até que ela termine
Depois de fazer uma negociação, você deve monitorá-la de perto. As opções binárias são um comércio rápido e tem alto risco. Se depois de fazer uma negociação e sua posição de negociação parecer estar indo bem no início, ela pode mudar drasticamente em questão de milissegundos.

Manter um olhar atento sobre isso ajudará você a saber se deve sair da negociação ou esperar que ela termine.
Conclusão: Corretores de opções binárias estão disponíveis em Antígua e Barbuda
Negociar em Opções Binárias pode ser muito divertido e parecer fácil. É verdade que é fácil, mas é um mercado arriscado também. Os traders de opções binárias sempre ficam de olho em suas negociações. Isso é uma coisa boa, por causa do risco envolvido na negociação de Opções Binárias.
Como trader de Antígua e Barbuda, você pode querer fazer o mesmo ao negociar Opções Binárias.
Perguntas frequentes (FAQs) sobre opções binárias em Antígua e Barbuda:
O comércio binário é legal em Antígua e Barbuda?
Sim, em Antígua e Barbuda, as opções binárias têm status legal. No entanto, é imperativo que os traders optem por um corretor de confiança e consultem o nosso guia sobre como evitar esquemas fraudulentos.
Quanto dinheiro você precisa em Antígua e Barbuda para negociar opções binárias?
O nível de investimento que você aloca em opções binárias geralmente depende do seu conforto com o risco, dos seus objetivos na negociação e do depósito mínimo especificado pelo corretor de opções binárias específico que você escolher. Normalmente, você pode abrir uma conta com apenas $10 e começar a negociar a partir de $1.
Quais são os métodos de pagamento comuns para corretores de opções binárias em Antígua e Barbuda?
Você tem várias opções para fazer depósitos e saques, incluindo a utilização dos principais cartões de crédito e débito, realização de transferências bancárias ou utilização de uma variedade de carteiras eletrônicas, como iDEAL, Neteller, Sofort, Rapid Transfer, Trustly, Skrill, GiroPay, Multibanco, e P24.
Quais são os riscos da negociação de opções binárias em Antígua e Barbuda?
O envolvimento na negociação de opções binárias em Antígua e Barbuda acarreta riscos substanciais. Isso decorre de sua essência especulativa, que oferece alto potencial de perdas financeiras. A falta de regulamentação bem definida neste domínio pode expor os comerciantes a atividades fraudulentas.
Você pode negociar opções binárias gratuitamente em Antígua e Barbuda?
O envolvimento na negociação de opções binárias implica invariavelmente um nível de exposição financeira e normalmente não é um empreendimento gratuito, seja em Antígua e Barbuda ou em qualquer outro local. Os traders esforçam-se por prever flutuações nos preços dos ativos, com ganhos ou perdas dependendo da precisão dessas previsões.
Posso lucrar com a negociação de opções binárias em Antígua e Barbuda?
A rentabilidade na negociação de opções binárias não é garantida em nenhum lugar, incluindo Antígua e Barbuda. É uma atividade comercial de alto risco e se você lucra ou não depende de suas habilidades, estratégias e condições de mercado. Aborde a negociação de opções binárias com cautela e uma compreensão profunda dos riscos, pois muitos traders incorrem em perdas.
É possível ganhar a vida através do comércio binário em Antígua e Barbuda?
A negociação binária pode gerar lucros substanciais com a sua abordagem mais simples e rápida em comparação com a negociação forex tradicional. Embora ofereça a oportunidade de gerar retornos significativos num curto espaço de tempo, também acarreta o risco de perdas substanciais nesse mesmo breve período.
(Aviso de risco: seu capital pode estar em risco)


