İkili Opsiyon ticareti, her beceri düzeyindeki yatırımcıların piyasalar üzerinde kolayca spekülasyon yapmasına olanak tanır. Ancak bu finansal araçların sağladığı ticaret kolaylığı, sundukları pek çok avantajdan yalnızca biridir.
Belki de ikili dosyaların en önemli avantajı, satın alıyor veya satıyor olmanızdan bağımsız olarak sundukları sınırlı aşağı yönlü risktir. Böylece her zaman ne kadar kazanacağınızı (veya kaybedeceğinizi) bilirsiniz.

Ancak, ikili dosyalar ticareti yapmak için önce bir komisyoncu ile İkili Opsiyon hesabı açmanız gerekir. İkili opsiyon komisyoncusu sıkıntısı yoktur, ancak tüccarların kaydolmayı tercih ettiği yalnızca birkaç tanınmış komisyoncu vardır.
Hesap oluşturma süreci, ikili komisyoncudan komisyoncuya biraz farklılık gösterebilir ancak izlemeniz gereken adımlar esasen aynıdır. Burada ikili opsiyon kaydını nasıl tamamlayacağınız ve İkili Ticarete nasıl başlayacağınız konusunda bir kılavuz bulunmaktadır.
İkili Opsiyon hesabı nasıl açılır:
Dört kolay adımda İkili Opsiyon kaydını tamamlayarak güvenilir bir İkili Opsiyon komisyoncusu ile işlem yapmaya başlayabilirsiniz.
Adım #1: İnternete bağlı bir cihaz edinin
İkili opsiyonlar, en yaygın olarak çevrimiçi işlem gören ikili platformlar üzerinden ticareti yapılan araçlardır. Bir hesap oluşturmak ve ardından spekülasyon yapmak için internete bağlı bir bilgisayara veya telefona erişmeniz gerekir.
İnternete bağlanabilen bir telefon veya bilgisayara sahip olmanın yanı sıra, sabit bir internet bağlantınızın olması gerekir. Örneğin, bir takas zamanından çıkmazsanız, düşük internet hızları ve bağlantı kesintileri size paraya mal olabileceğinden, güvenilir bir internet servis sağlayıcısından bağlantı almayı düşünün.
Adım #2: Güvenilir bir İkili Opsiyon Aracısı seçin
100+ Piyasa
- Uluslararası müşterileri kabul eder
- Yüksek ödemeler 95%+
- Profesyonel platform
- Hızlı para yatırma
- Sosyal Ticaret
- ücretsiz bonuslar
100+ Piyasa
- Min. $10 yatır
- $10,000 demo
- Profesyonel platform
- 95%'ye kadar yüksek kar
- Hızlı para çekme
- sinyaller
300+ Piyasa
- $10 minimum depozito
- Ücretsiz demo hesabı
- 100%'ye kadar yüksek getiri (doğru bir tahmin olması durumunda)
- Platformun kullanımı kolaydır
- 7/24 destek
100+ Piyasa
- Uluslararası müşterileri kabul eder
- Yüksek ödemeler 95%+
- Profesyonel platform
- Hızlı para yatırma
- Sosyal Ticaret
- ücretsiz bonuslar
itibaren $50
(Risk uyarısı: Alım satım risklidir)
100+ Piyasa
- Min. $10 yatır
- $10,000 demo
- Profesyonel platform
- 95%'ye kadar yüksek kar
- Hızlı para çekme
- sinyaller
itibaren $10
(Risk uyarısı: Alım satım risklidir)
300+ Piyasa
- $10 minimum depozito
- Ücretsiz demo hesabı
- 100%'ye kadar yüksek getiri (doğru bir tahmin olması durumunda)
- Platformun kullanımı kolaydır
- 7/24 destek
itibaren $10
(Risk uyarısı: Sermayeniz risk altında olabilir)
Her komisyoncu ikili ticarete izin vermez. Bu nedenle, bir komisyoncuda işlem hesabınız olsa bile aynı hesabı kullanamayabilirsiniz. İkili Opsiyon ticareti için komisyoncu.
İkili dosyaları kullanarak spekülasyon yapmak için özel bir ikili opsiyon komisyoncusu seçmeniz gerekecek. Bu brokerlerin çoğu, çoğu ülkeden müşterilerin platformlarını kullanmasına izin verirken, seçtiğiniz brokerin, ülkenizdeki yatırımcıların platformunda işlem yapmasına izin vermeme ihtimali vardır.
Bunu aklınızda tutmalı ve komisyoncunun bir hesap açmadan önce platformunu kullanmanıza izin vereceğinden emin olmalısınız. Size çok zaman ve emek kazandıracak.
Ayrıca, aşina olduğunuz varlıklar ve pazarlar üzerinde ikili dosyalarla işlem yapmanıza izin veren iyi düzenlenmiş bir komisyoncu seçmeniz çok önemlidir. Aşina olmadığınız piyasalarda alım satım varlıklarına geçmek alım satım yaparken para kaybetme şansınızı artırır. Son olarak, seçtiğiniz komisyoncunun hizmetlerini rekabetçi fiyatlarla sunduğundan emin olmalısınız.. Biraz daha yüksek ücretler ödemek sorun gibi görünmeyebilir; ancak, siz daha fazla işlem yaptığınızda, maliyetler büyük bir miktara ulaşır.
Bu faktörleri göz önünde bulundurarak, kaydolabileceğiniz piyasadaki en iyi İkili Opsiyon brokerlerinden üçünü kısa listeye aldık.
#1 Pocket Option
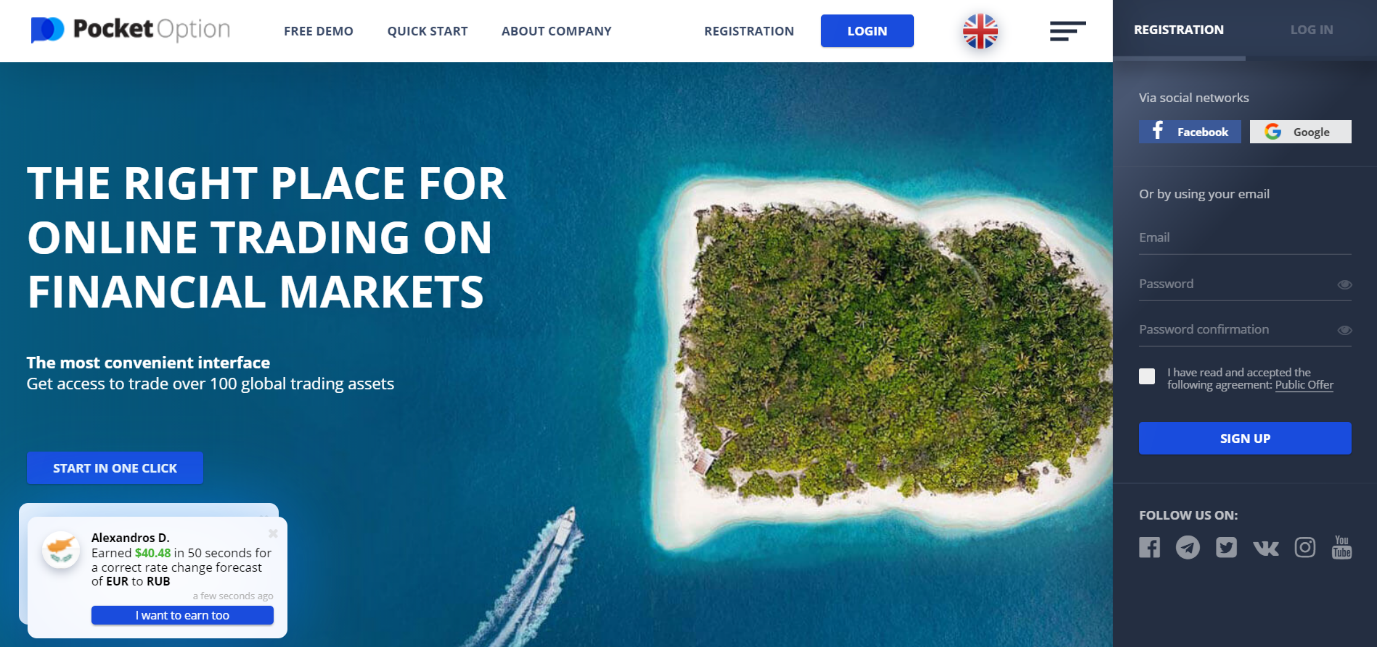
2017 yılında kurulan, Pocket Option, tanınan başka bir aracı kurumdur bu ikili ticarete izin verir. Basit bir ikili opsiyon kayıt süreci, ticareti yapılacak 130'dan fazla varlık ve çoğu ülkede hizmet kullanılabilirliği ile Pocket Option'den başka brokerleri seçmek zordur.
Minimum depozito $50 iken, minimum ticaret değeri $1'dir. Ancak belki de platformun en iyi yanı, herhangi bir taahhütte bulunmadan ücretsiz olarak kaydolabilir ve demo hesabını kullanabilirsiniz. Bu, onu acemi tüccarlar için mükemmel bir platform haline getirir.
Platform ayrıca sosyal ticaret gibi özellikler sunar ve çeşitli ödüllere sahip turnuvalara ev sahipliği yapar. Kullanımı kolay web arayüzü ve mobil uygulama, ticareti kolaylaştırıyor.
(Risk uyarısı: Sermayeniz risk altında olabilir)
#2 Quotex.io
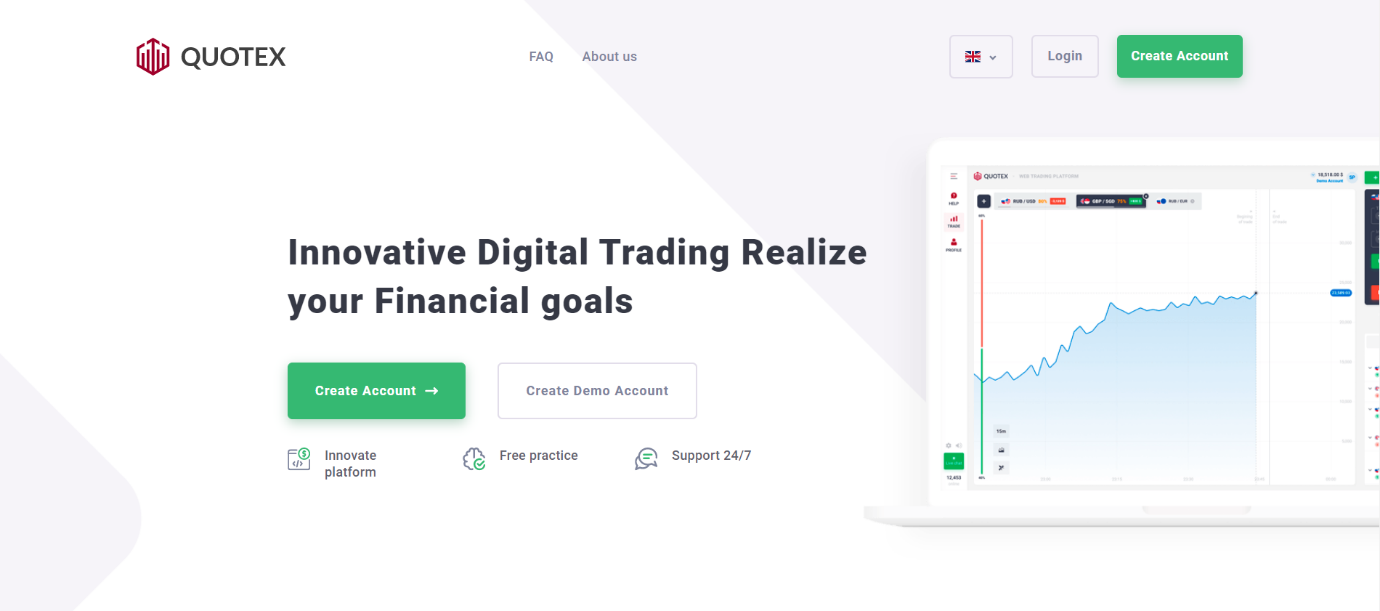
Quotex.io nispeten yeni bir İkili Opsiyon komisyoncusu – 2020 yılında kuruldu. Ancak kısa sürede lider bir aracı kurum haline geldi. Ayrıca, üye olduğu IFMRRC, onu tüccarlar için düzenlenmiş ve güvenilir bir platform haline getiriyor.
Platform, ABD, Kanada, Hong Kong ve Almanya'dan tüccarlara ödeme kısıtlamaları getiriyor. Ancak, 18 yaşından büyük olduğunuz sürece, hesabınıza kripto para birimi ve ticaret kullanarak para yatırabilirsiniz.
Minimum depozito miktarı $10'dur ve platform ayrıca bir demo hesabı sunarak yatırımcıların herhangi bir sermayeyi riske atmadan gerçek zamanlı olarak alım satım yapmalarını sağlar. 90%+'a kadar verim çok yüksek olabilir. Şahsen ben bu ticaret platformunu seviyorum, sorunsuz ve hızlı çalışıyor.
(Risk uyarısı: Sermayeniz risk altında olabilir)
#2 IQ Option
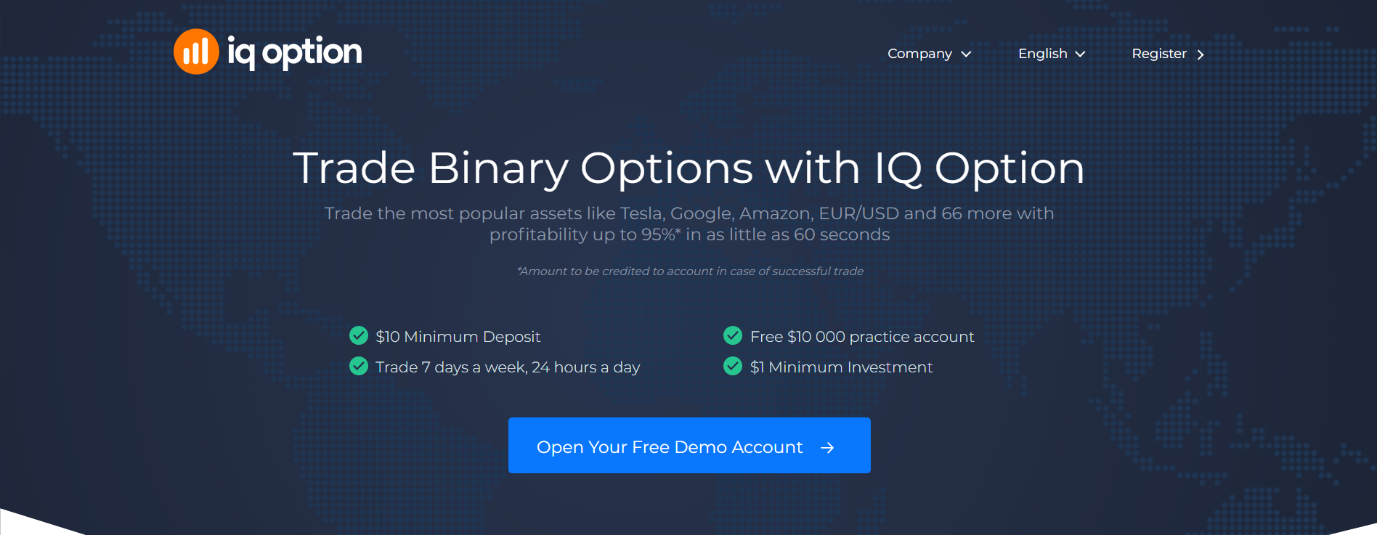
IQ Option, en popüler İkili Opsiyon brokerlerinden biridir, 40 milyondan fazla kayıtlı kullanıcıyla. Aracı kurum tarafından düzenlenir. Kıbrıs Menkul Kıymetler ve Borsa Komisyonu ve ayrıca Seyşeller Finansal Hizmetler Otoritesi.
Küresel olarak acemi tüccarlar tarafından go-to-broker olarak kabul edilir. Standart bir hesap için minimum depozito $10'dur. İşlem yapmak için 350'den fazla varlığa anında erişebilirsiniz. Aracı kurum ayrıca, iki gün içinde $1900'den fazla para yatıran yatırımcılara ek avantajlar sağlayan VIP hesapları da sunar.
Para yatırma bonusu yoktur, ancak aracı kurum birkaç ticaret turnuvası düzenler. Kazananlar $100 ile $100.000 arasında değişen ödüller alır.
IQ Option, 213'ten fazla ülkede mevcuttur. Ancak platform, daha katı düzenlemeler nedeniyle Amerika Birleşik Devletleri, Rusya, Kanada, Avustralya, Fransa, Japonya, Belçika ve bazı orta doğu ülkelerindeki tüccarlar için mevcut değildir.
Quotex.io gibi, IQ Options de herhangi bir risk almadan ticaret stratejilerini uygulamak için kullanabileceğiniz bir demo hesabı sunar.
(Risk uyarısı: Sermayeniz risk altında olabilir)
Adım #3: Bir hesap açın ve ona para yatırın
Birçok ikili opsiyon brokerinden birini seçtikten sonra, onlarla bir hesap açmalısınız. Herhangi bir aracı kurumda hesap açmak için aracı kurumun hesap gereksinimlerini karşılamanız gerekir. Şunları sağlamanız gerekecek:

- Ad ve soyad
- İkamet edilen ülke
- Tercih edilen ticaret para birimi
- Tercih edilen ödeme yöntemi
- E-posta adresi ve
- Şifre
Bazı aracı kurumlar da telefon numaranızı ister. Kimliğinizi doğrulamak için, iki faktörlü kimlik doğrulama için veya ihtiyacınız olduğunda size telefon üzerinden destek sağlamak için kullanılabilir.
Çoğu broker, ikili opsiyon kayıt işlemi sırasında ödeme bilgilerinizi istemezken, girmeniz gerekebilir.
Kimliğinizi doğrulama:
Temel bilgilerinizi sağladıktan sonra, komisyoncu kimliğinizi doğrulamanızı isteyecektir. Bu, devlet kimliğinizin bir kopyasını aracının güvenli portalına yüklemenizi gerektirir. Bazı aracı kurumların, müşterilerin kimlik doğrulaması için bir video görüşmesine katılmaları da gerekir.
Aracı kurumlar, birkaç şeyi önlemek için her tüccarın kimliğini doğrular:
- Sahtekar: Potansiyel dolandırıcılığı önlemek için 18 yaşın altındaki bireyler, belirli ülkelerde yaşayan tüccarlar platforma giremez.
- Kimlik Hırsızı: Platformun tüm kullanıcılarının doğrulanması, bilgisayar korsanlarının bir kullanıcıyı çalma ve başarılı bir şekilde taklit etme şansını azaltır.
Doğrulama işlemleri genellikle üç günden kısa sürer. Aracı kurum tarafından doğrulanmayı beklemenin rahatsızlığı, hem platformu hem de tüccarları güvende tutmak için uzun bir yol kat ediyor.
Bununla birlikte, bazı brokerler doğrulama gerektirmez ve temel bilgilerinizi girip bir şifre belirledikten hemen sonra ticarete başlamanıza izin verir.
(Risk uyarısı: Sermayeniz risk altında olabilir)
Adım #4: İkili Opsiyon ticaret demo hesabınızı veya canlı hesabınızı kullanın
İkili Opsiyon brokerlerinin çoğu size iki hesaba erişim sağlar: bir canlı hesap ve bir demo hesabı. Demo hesabı, “ ile alım satım yapmanızı sağlar.demo” gerçek zamanlı olarak para.

Bu hesabı kullanmak için yazılım indirmeye ve yüklemeye gerek yoktur. Eriştiğinizde, demo para ile platforma erişmenizi sağlayan bir sayfaya yönlendirileceksiniz.
Demo hesaplar, gerçek sermaye harcamadan ticaret stratejileri uygulamak için kullanılır. Bir demo hesabı kullanmak, stratejileri test etmenin ve yeni başlayan biriyseniz nasıl ticaret yapacağınızı öğrenmenin en uygun yoludur.
Canlı hesabı kullanmak için banka havalesi gibi yöntemlerle para yatırmanız gerekir. Ardından, canlı piyasada işlem yapmak için işlem hesabındaki fonları kullanabilirsiniz.

Normal hesap ve yönetilen ticaret hesabı
İkili opsiyon hesabı, komisyoncunun platformunda finansal türevlerle işlem yapmanızı sağlar, ancak aynı zamanda bir alma şansı da vardır. yönetilen ikili opsiyon hesabı. Bu hesap türü, yatırımlarınızla ilgilenen veya yatırım tavsiyesi veren bir profesyonel tarafından yönetilir. Araştırmamıza göre yönetilen bir hesap almanın çok riskli olabileceği görülüyor çünkü komisyoncunun şirketinde çoğunlukla karlı ticaret yapabilecek profesyonel yoktur.
Farklı İkili Opsiyon hesap türleri açıklandı:
Bir hesap türü seçmek zordur, özellikle de ne tür bir işlem yapmanız gerektiğini bilmiyorsanız. Bunu belirledikten sonra hesap türünü seçmek daha kolay hale gelecektir. İkili opsiyon ticareti için en yaygın hesap türlerini burada bulabilirsiniz.
Sanal hesap (demo)
Yatırım yolculuğunuza yeni başladınız ama gerçek parayla yatırım yapmaktan mı korkuyorsunuz? Endişelenmeyin çünkü sanal hesaplar bu korkuyu ortadan kaldırmanıza yardımcı olabilir. Gerçek parayla ikili opsiyonlara yatırım yapmadan önce stratejilerinizi bir test aracılığıyla test edebilirsiniz. sanal hesap (demo hesabı). Bu, performansınızı artırmanıza yardımcı olacaktır. İkili opsiyonların ticaretine ve analizine olan güven.

Sanal hesap, gerçek hesapla benzer özelliklere sahiptir. Ancak sanal hesap, gerçek hesaptan farklı olarak gerçek para kullanımına izin vermez.
Hala yatırım yapabilir ve gerçek para kullanmış olsaydınız sonucun ne olacağını görebilirsiniz. Sonuçta gerçek parayı kazanma ve kaybetme olasılığı sıfırdır. Bu nedenle risksiz bir ticaret yöntemidir.
Bilgili yatırımcılar forumun dürüstlüğünü test etmek için sanal hesapları kullanmayı tercih ediyor. Bu şekilde yatırımcılar platformda gösterilen bilgilerin güvenilir ve güvenilir olduğunu bilirler. Gerçek parayla işlem yaparken, bir sağlam kazanma tekniği. Bu sanal hesaplar kendi stratejilerinizi geliştirmenize yardımcı olur. Platform hakkında tam bilgiye sahip olmak şarttır. Örneğin, bazı ikili opsiyonların vadesi sadece saniyeler kadardır. Dolayısıyla gecikmeyi azaltmak, kazanma ve kaybetme arasındaki fark anlamına gelebilir.
Düşük minimum hesap
Artık güvenilir bir kazanma stratejiniz var ve gerçek parayla yatırım yapmaya hazırsınız. Düşük minimumlar siz ve gerçek parayla yatırım yapmaya başlamak isteyen diğer yeni başlayanlar için mükemmel seçimdir. Düşük minimum hesabı kullanan yatırımcılar, tüm işlem ayrıcalıklarından yararlanabilir ve bu ayrıcalıklardan yararlanabilirler. Ancak bu bir sorunla birlikte geliyor. Bunlara sahip yatırımcıların hesap bakiyesi normalden düşük.
İkili opsiyonlara ilişkin standart hesapların hesap bakiyesi genellikle $500 civarındadır. Bunun altındaki herhangi bir şey düşük minimum hesap olarak temsil edilir. Bununla birlikte, bu sınıflandırma aynı zamanda komisyoncunuza da bağlı olabilir. Bunlar şunları içerir: Mikro, Temel veya Başlangıç hesabı.
Daha az risk içermesi nedeniyle, aynı zamanda düşüşleri de beraberinde getirir. Muazzam yatırım fırsatlarından ve diğer ayrıcalıklardan mahrum kalacaksınız. Hesap sahipleri yeterli paraya sahip olmadıkları için kaldıraç kullanamazlar. Ayrıca, yüksek riskli fırsatların veya oldukça kısa bir zaman dilimine sahip seçeneklerin gelişmesi de dezavantaja neden olabilir.
Bu fırsatlardaki riskler yüksek olsa da getirileri daha büyük olur. Hesabınızı yükselttiğinizde tüm bu ayrıcalıklar ve yatırım fırsatları repertuarınıza eklenir.
Egzotik ticaret hesabı:
Bundan bir hafta sonra Teksas'ta hava koşullarının nasıl olacağı konusunda ticaret yapabileceğinizi hiç düşündünüz mü? Egzotik takaslar da aynısını yapmanıza olanak tanır. Fiyat belirlemeden hava koşullarına, her şeye teklif verebilirsiniz.
Egzotik ticaret, bu tür ikili opsiyonlara teklif vermenizi sağlar. Örneğin belirli bir yerin gelecekteki hava koşulları veya Federal Reserve'ün açıkladığı faiz oranları için teklif verebilirsiniz.
Egzotik ticaret hesabı, yatırım yolculuğunuz için faydalı olduğu kanıtlanan farklı opsiyon türlerine erişmenizi sağlar.

En popüler ticaret seçeneği türlerinin listesi aşağıda verilmiştir:
Yüksek/Düşük
İkili opsiyon ticaretinin en temel türüdür. Burada hisse senedi, para birimi, emtia veya endeks olabilecek bir varlığı incelersiniz. platform daha sonra size bir soru sorar:
“Y süresi dolduğunda X varlığının değeri mevcut fiyatından daha yüksek mi yoksa daha düşük mü olacak?”
Fikrinize göre 'yüksek' veya 'düşük'ü seçersiniz. İddianızda haklıysanız ve varlık, süre dolduğunda tam olarak taklit ettiğiniz seviyede işlem görüyorsa, teklifi kazanırsınız. Aksi takdirde bu bir kayıptır.
Giriş/çıkış
Temel olarak 'Çifte Temassız İşlemler' olarak adlandırılabilir. Varlığın fiyatının belirli bir aralıkta kalıp kalmayacağını önceden tahmin edersiniz. Süre dolduğunda fiyat belirtilen aralıkta kalırsa, işlemi kazanırsınız ve bunun tersi de geçerlidir.
Merdiven
Merdiven ticareti nispeten daha yeni bir buluştur. Bunu yürütmek ve bundan kar elde etmek biraz karmaşık olabilir. Merdiven ticareti, yüksek/düşük ve Tek Dokunuş işlemlerine benzer. Hala bir varlığın değerinin hangi yönde olacağını tahmin ediyorsunuz gidecek ve hangi zaman diliminde.
Merdiven ticaretinde ticareti parçalara bölersiniz, bu da kısmi kazanç ve kayıplara sahip olmanızı sağlar. Genellikle profesyonel yatırımcılar tarafından gerçekleştirilir ve bu türden kar elde etmeniz biraz zaman alabilir.
Dokunma/Dokunmama
Ticaretin türü size basit bir soru sorar:
"Bu X varlığı, Z'nin sona erme zamanında Y tetik noktasına ulaşacak mı?"
Tek yapmanız gereken tetik noktasına dokunup dokunmayacağını taklit etmektir. Temaslı işlemlerde, tetikleme noktasının mevcut fiyattan ne kadar uzak olursa, ödemelerin de o kadar yüksek olacağını unutmayın. Dokunmamanın tam tersidir. Dolayısıyla iddianız doğruysa ticareti kazanırsınız. Aksi takdirde yatırımınızı kaybedersiniz.
profesyonel hesap
Adından da anlaşılacağı gibi bu hesaplar genellikle bilgili yatırımcılara yöneliktir. Bu hesap, tartışılan hesap türlerinin herhangi birinden en fazla riske sahiptir. Bu yatırımcıların ortalama hesap bakiyeleri yüksektir ve aynı anda birden fazla işlem yapılıyor.
Profesyonel yatırımcılar bu ikili opsiyonları birbirlerine karşı korunma aracı olarak kullanmaya çalışırlar. Bu strateji verimli kullanıldığında yüksek getiriler sağlayabilir ancak yanlış kullanımı büyük kayıplara yol açabilir.
Kullanıcının en yüksek kaldıraç seviyesine sahip olmasını sağlar.

Daha önce de belirtildiği gibi kaldıraçlı hesaplar, yatırımcının mevcut hesap bakiyesinden katlanarak daha fazla yatırım yapmasına olanak tanır. Ancak yatırımcı işlemi kaybederse, bu senaryoda hesabının değerinden fazlasını kaybedebilir ve komisyoncuya borçlu kalabilir.
Bu hesaplar, profesyonel yatırımcıların tüm işlemlere erişmesine olanak tanır. Ticaret tarzlarına bağlı olarak yüksek frekanslı işlemlere katılabilir veya herhangi bir bahise bahis koyabilirler. egzotik varlıklar. Bazı brokerlar kişiselleştirilmiş yardım sağlayarak profesyonel hesap sahiplerine yardımcı olur. Bir konsiyerj ve özel eğitim materyallerine erişim içerebilir.
Sonuç: İkili Opsiyon hesabı açmak kolay ve hızlıdır
Kaydolduğunuz komisyoncuya bağlı olarak, İkili Opsiyonlar kayıt birkaç saatten birkaç güne kadar sürebilir.
Bir aracı belirli bir şekilde kimlik doğrulaması gerektirmiyorsa, bunun aracının daha az güvenilir olduğu anlamına gelmediğini unutmamanız önemlidir. Çoğu İkili Opsiyon komisyoncusu güvenilirdir ve düşman bir komisyoncuya kaydolma şansınız çok düşüktür.
Artık ikili opsiyon kaydını nasıl tamamlayacağınızı bildiğinize göre, kayıt işlemini hızlı bir şekilde tamamlayabilir ve ticarete başlayabilirsiniz.
(Risk uyarısı: Sermayeniz risk altında olabilir)
İkili Opsiyon hesabı hakkında sık sorulan sorular:
yerleştirmenin olası sonuçları nelerdir? İkili Opsiyon ticareti?
Fiyat hareketinin yönü ile ilgili öngörünüz doğruysa, öngörülen kazançlar hesabınıza yatırılacaktır.
Opsiyonun süresi dolarsa ve vade sonunda tahmininiz yanlışsa, yatırdığınız tutarı kaybedersiniz.
Fiyatta sıfır değişiklik olursa, yatırdığınız tutarı geri alırsınız.
Kayıplarınız, varlık değerinin büyüklüğü ile sınırlıdır.
Kayıt sırasında alım satım hesabıma para yatırmam gerekiyor mu?
Hesabınıza en az minimum depozito ile para yatırmanız gerekecektir. Minimum depozito, aracı kurumdan aracı kuruma değişir. Genellikle $50 veya daha azdır, ancak bazı brokerlerin daha yüksek bir minimum depozito gereksinimi vardır.
Telefonumdan İkili Opsiyon ticareti yapabilir miyim?
Kaydolduğunuz komisyoncunun Google Play Store veya App Store'da bir uygulaması varsa, telefonunuzda çok fazla güçlük çekmeden ikili dosyalar ticareti yapabilirsiniz. Çoğu brokerın mobil uyumlu web siteleri vardır, bu nedenle bir uygulama yoksa, siteyi tarayıcınızda ziyaret ederek telefonunuzda işlem yapabilmeniz gerekir.
İkili Ticaret hesabımı daha sonra kapatabilir miyim?
Evet, hesabınızı bir ticaret platformundan silmek kolaydır. Çoğu ticaret platformunun sayfasında bir "Hesabı Sil" seçeneği bulunur. Ancak, bazıları hesabınızı silmek için müşteri destek ekibiyle iletişime geçmenizi gerektirir.
Demo hesaplarda ne kadar para var?
Tipik olarak, demo hesaplar tercih ettiğiniz para biriminden 10.000 birim ile birlikte gelir. Bununla birlikte, demo hesaptaki "standart" fonlar platformdan platforma farklılık gösterir.


