Disclaimer: This article is only for information purposes. Laws can be changed quickly. We are not a tax advisor. We recommend you visit a tax advisor for a secure consultation.
Binary options trading can be an exciting financial pursuit, but it is not without its tax implications. The way binary trading is taxed varies from one country to another, and it is crucial to understand how it works in your specific location.
In this article, we will simplify the complexities and explore how binary options trading is taxed in different countries. We will provide the insights you need to navigate taxation rules in your country, whether you are a seasoned trader or just getting started.
Most important facts about Binary Options Taxation:
- Binary options taxation differs worldwide, classified as capital gains, income, or gambling in different countries.
- Tax Rates vary, from short-term capital gains in the USA to flat rates in India. Accurate record-keeping is vital.
- Tax Reduction Strategies mean that you should offset gains with losses, consider long-term holds, and account for deductible expenses.
- Due to the complexity of binary options taxation, always consult a tax expert in your region.
What are Binary Options taxes?
Binary options taxes refer to the taxation regulations and requirements governments impose on the profits earned through binary options trading. These taxes can vary significantly from one country to another and may depend on the specific circumstances of the trader.
In some countries, binary options profits may be subject to income tax, capital gains tax, or other forms of taxation. However, there are also places where binary options trading is not subject to any tax obligations.
Traders must understand the tax implications of their binary options trading activities in their respective jurisdictions and comply with the tax laws and reporting requirements.
Different tax rules in different countries:
The tax for Binary Options is different from country to country. Also, keep in mind that in a lot of countries, Binary trading is banned. Here we summarized the taxation:
USA
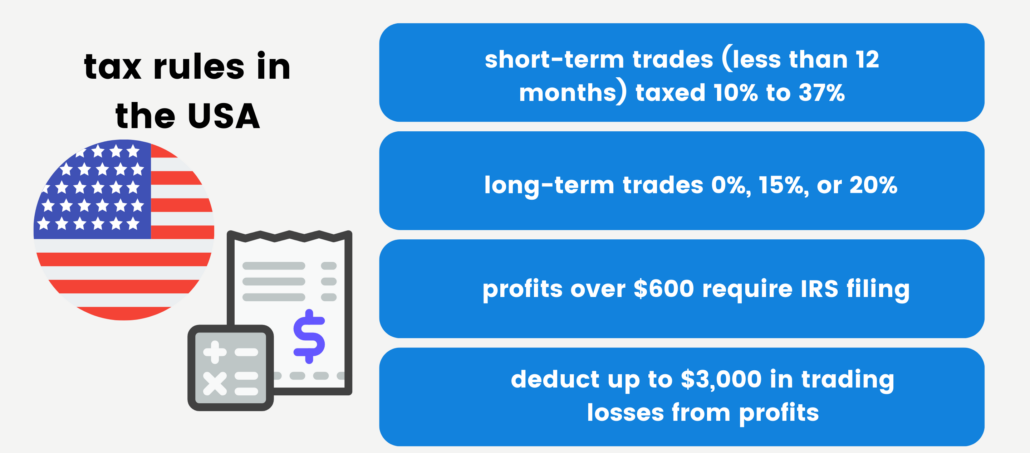
In the United States, binary options taxation is influenced by various factors. To begin with, if the expiration period is less than 12 months, the income is categorized as a short-term capital gain.
Short-term gains are subject to taxation at regular income tax rates, which range from 10% to 37%. For trades that expire after a year, they are typically considered long-term capital gains and fall into one of three tax brackets: 0%, 15%, or 20%.
It is worth noting that tax brackets can differ depending on your filing status, such as head of household, married filing jointly, married filing separately, or single. If your trading profits exceed $600 within a fiscal year, it is mandatory to file a tax return with the IRS.
Each trader has the option to offset up to $3,000 of losses against their total income. For instance, if your trading returns amount to $6,000, but you incurred $3,000 in losses, you will only be taxed on the net profit of $3,000.
UK
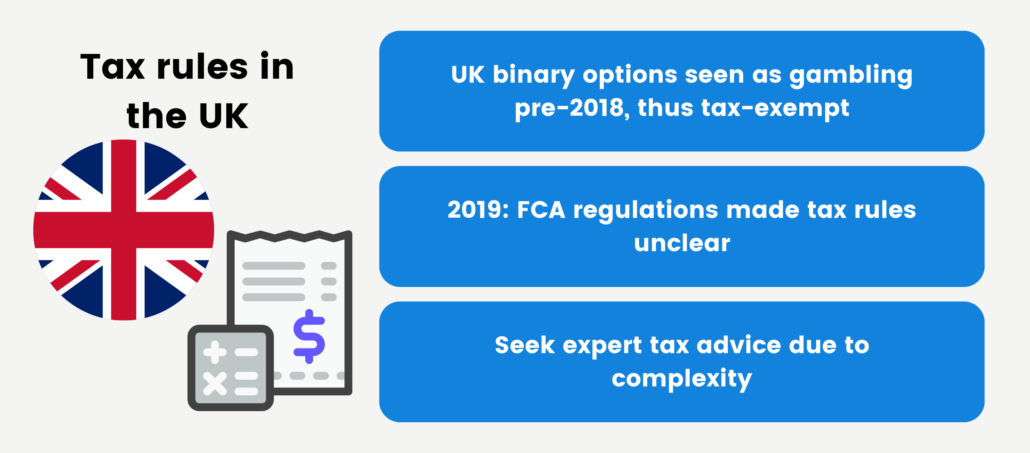
Prior to 2018, binary options were considered a form of gambling in the UK, and any generated revenue remained tax-exempt. However, with the subsequent regulation of binary options and the banning of retail trading by the Financial Conduct Authority (FCA) in 2019, the taxation rules for UK-based traders have become ambiguous. Consequently, seeking guidance from a qualified tax advisor is highly recommended in this complex landscape.
Canada
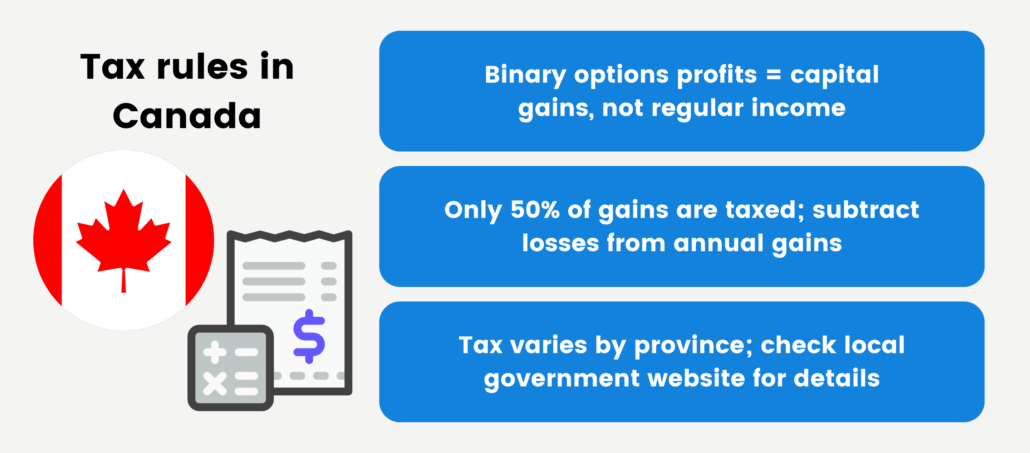
In Canada, profits obtained from binary options trading come under capital gains for tax purposes. Consequently, these gains do not fall under your regular income tax allowance. Notably, only 50% of the realized capital gains are subject to taxation. Additionally, losses incurred within a fiscal year can be subtracted from your gains, ensuring that only the net trading profits are subjected to taxation.
The specific tax amount owed differs based on the province of your residence. You can refer to the ‘taxes’ section on your provincial government’s official website for more information and guidance related to tax matters.
India
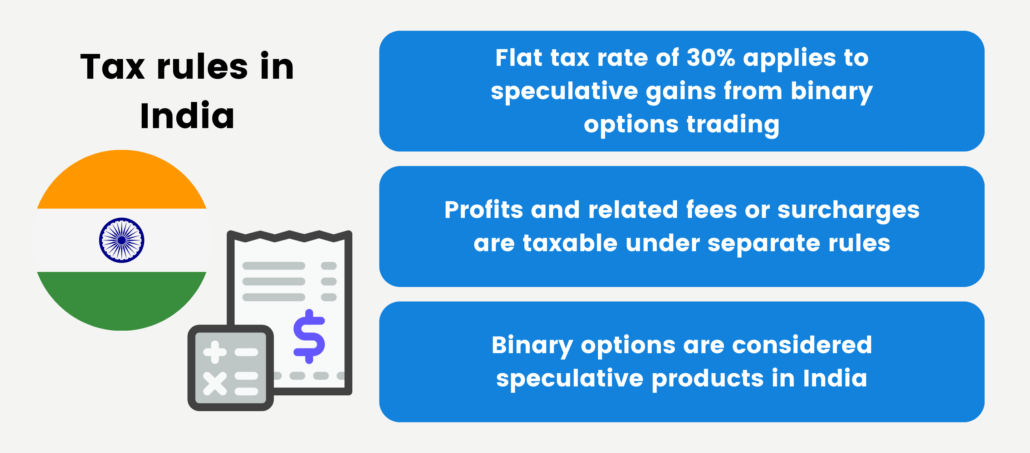
The taxation of binary options in India follows a relatively straightforward approach. Binary options are regarded as speculative products, and their profits are subject to taxation under a distinct set of regulations separate from regular income sources. Specifically, a flat-rate tax of 30% applies to speculative gains, including any associated fees or surcharges.
Australia
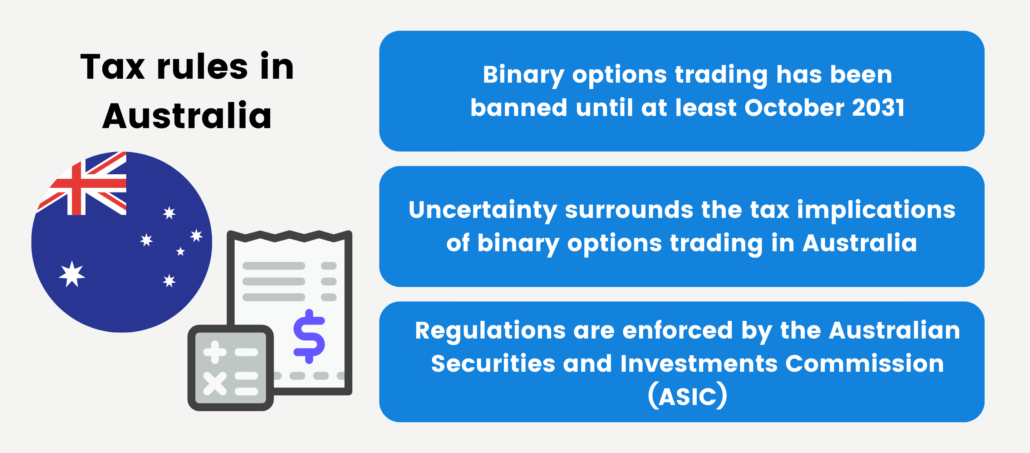
If you are uncertain about the tax implications of binary options trading in Australia, it is essential to note that the regulations remain uncertain. Presently, binary options have been banned following the introduction of an 18-month ban by the Australian Securities and Investments Commission (ASIC) in May 2021.
In September 2022, the ban was extended until October 2031 to protect retail binary options traders from further losses. The specific tax rules and guidelines that will apply after that date remain unknown.
Europe
Financial regulations imposed by the European Securities and Markets Authority (ESMA), such as MiFID and MiFID II, set limitations on the advertising and trading of binary options across Europe.
Although the ban has not been lifted, certain countries still maintain restrictions on platforms offering binary options to retail investors forever. It is worth noting that the taxation of binary options varies from one nation to another.
France

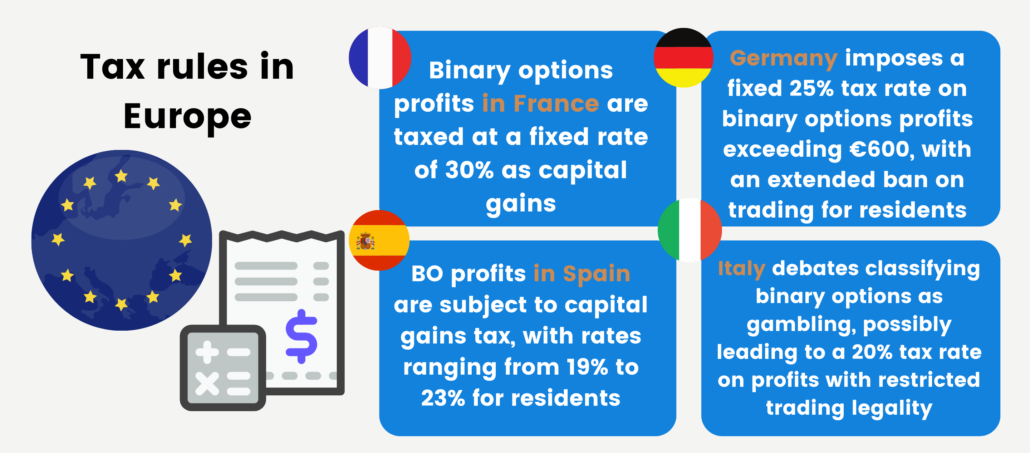
While active advertising of binary options is restricted in France, they can still be legally traded. At present, profits generated from binary options trading are categorized as capital gains and are subject to a fixed tax rate of 30%. It is important to note that this tax rate remains consistent and is not influenced by your regular income tax bracket.
Spain

In Spain, profits earned from trading financial instruments, including binary options, are typically subject to capital gains tax. The tax rate for capital gains varies based on the type of asset and the duration of the investment.
If you are a resident binary options trader, the applicable capital gains tax rates in Spain are as follows:
- 19% on the first 6,000€ of profit.
- 21 % for earnings between 6,000€ and 50,000€.
- 23% for profits exceeding 50,000€.
Germany

In Germany, if you accumulate profits amounting to €1,000 within a fiscal year through binary options trading, you are obligated to remit a fixed tax rate of 25%, accompanied by a supplementary surcharge.
Additionally, Germany’s financial regulatory authority, BaFin, extended the ban on binary options trading for resident traders in 2019, following ESMA’s initial ban in 2017. Traders who wish to avoid this ban can register with foreign brokers.
Italy

There has been considerable debate within Italy regarding whether binary options should be categorized as gambling. If classified as such, it would imply that any resulting profits might be subject to a 20% tax rate, aligning with the taxation of casino gambling. However, as of now, only investment firms or banks have the legal capacity to engage in binary options trading.
Additionally, Italy’s financial regulatory authority, CONSOB, has declared that it is against the law for customers residing in Italy to engage in trading with offshore brokers. While enforcing this prohibition may present challenges, prospective investors should be mindful of these regulatory guidelines.
Brazil
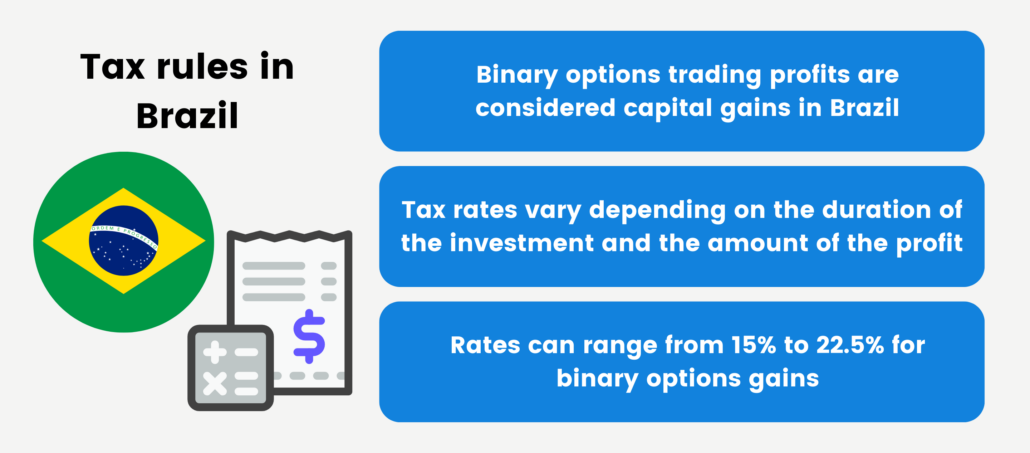
Earnings from binary options trading in Brazil are commonly considered capital gains and subject to corresponding taxation. The tax rate depends on the investment duration and profit amount, with short-term gains taxed at higher rates than long-term gains.
Prior to 2017, the tax rate was fixed at 15%, but now it can range from 15% to 22.5%, depending on how much profit you make.
Mexico
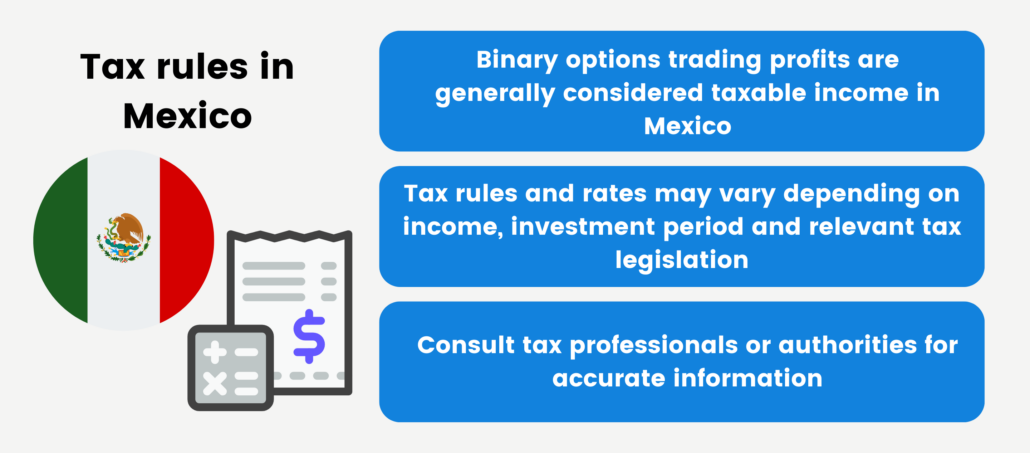
Gains from binary options trading in Mexico are generally considered taxable income. If you earn a profit from trading binary options, you may be required to report that income and pay taxes on it. The precise tax regulations and rates may differ based on your total income, investment duration, and the relevant tax legislation in Mexico.
It is essential to consult with a tax professional or the Mexican tax authorities to get precise information on how binary options profits are taxed in Mexico. Tax regulations for binary options are currently unclear, and the exact rules may vary based on your circumstances.
Singapore
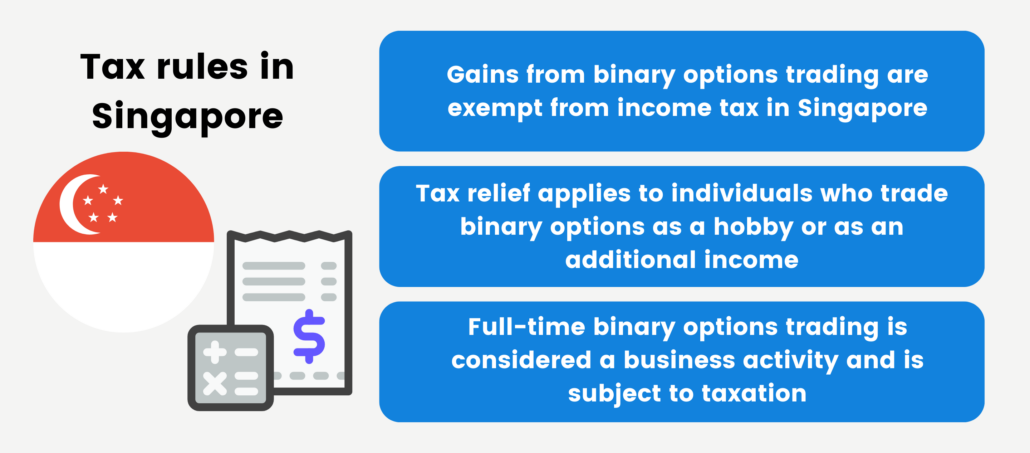
Singapore offers a beneficial tax framework for Binary options traders. The Inland Revenue Authority of Singapore (IRAS) classifies Binary options trading as a speculative pursuit, resulting in gains from Binary options trading being exempt from income tax. This exemption serves as a notable advantage for Binary options traders in Singapore, allowing them to retain a more substantial portion of their earnings.
However, it is essential to recognize that this tax relief applies exclusively to individuals who engage in Binary options trading as a pastime or supplementary source of income. Should you choose to pursue Binary options trading as a full-time occupation or primary source of livelihood, it will be regarded as a business activity, and your profits will be subject to taxation.
Malaysia
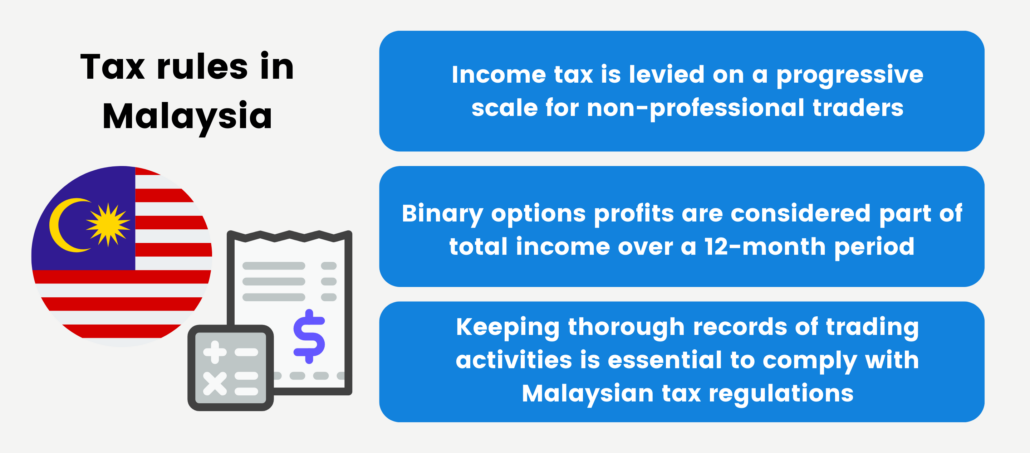
If you are not classified as a professional trader, your Income Tax responsibility is determined using a progressive scale. Your tax rate will vary from 0% to 28% in Malaysia, depending on your total income over a 12-month period. Any gains accrued from binary options trading are considered a component of this income and are required to be disclosed.
Consequently, it is paramount that you keep a thorough record of all your trading activities, regardless of whether they resulted in a profit or loss. Failure to comply with tax regulations can result in significant financial penalties, including a fine of 20,000 MYR and an amount equal to 300% of the undeclared tax owed.
How to fill your binary options taxes:
Filling out your taxes related to binary options trading can be complex, as it varies by country and individual circumstances.
The steps are as follows:
- #1 Keep records: Maintain detailed records of your binary options trading, including trade details and outcomes.
- #2 Determine tax status: Understand if your trading profits are taxable in your country and how they are categorized (capital gains or income).
- #3 Gather documents: Collect tax-related documents from your broker or exchange.
- #4 Report income: Include your trading income in your annual tax return.
- #5 Consult a professional: Seek advice from a tax professional or accountant familiar with your country’s tax laws.
- #6 Pay taxes on time: Make sure to pay any owed taxes promptly to prevent incurring penalties.
- #7 Stay well-informed: Keep yourself updated on any changes in tax laws specific to your region.
How to reduce taxes?

Reducing taxes for binary options trading can be challenging, but there are some strategies that traders can consider to minimize their tax liability. Remember that tax regulations differ from one country to another, so it is essential to seek guidance from a tax expert familiar with the tax laws applicable in your specific region.
Here are some general strategies that may help reduce taxes:
Offset Gains with Losses: In many tax systems, you can offset capital gains with capital losses. If you have losses from specific trades, consider offsetting your binary options trading gains against those losses to reduce your overall taxable income.
Hold Investments Long-Term: Some nations provide reduced tax rates for long-term investments as opposed to short-term trading. If your country has a preferential tax rate for long-term capital gains, consider holding winning binary options trades for a longer period.
Consider Deductible Expenses: You can deduct specific trading-related costs, such as platform fees or educational materials, depending on your location. It is essential to record these expenses and consult with tax professionals if you have any uncertainties.
Get expert advisors for tax laws
Dealing with the taxes related to binary options trading can be tricky. It is a good idea to talk to a tax expert who knows the rules in your area. They can give you personalized advice and make sure you are doing the right things when it comes to reporting your taxes.
Conclusion – Seek professional advice when necessary
In summary, the taxation of binary options trading varies from country to country, with different regulations and tax codes in place. Traders should stay informed about their specific country’s tax rules, as they can be classified as capital gains or speculative gambling, each with its own tax rates and reporting requirements.
Staying updated on tax laws, seeking professional advice when necessary, and adhering to legal boundaries while managing your financial portfolio through binary options trading are crucial.
Frequently Asked Questions FAQs about Binary Options Taxation:
Where can I access information about paying taxes on binary options?
You can typically find guidance on binary options tax regulations and obligations on your country’s tax office website. Consider consulting a local tax advisor for clarification if you find the information unclear or confusing.
How can I fulfill my tax obligations for binary options trading in India?
Visit the official website of the Indian tax authorities to find complete guidance on fulfilling your tax responsibilities. On their website, you will see a dedicated section titled ‘Online Tax Payment,’ which includes a link to the tax return form. Follow the steps on the screen to securely input your personal information and payment details.
Is there a requirement to pay taxes on the income generated from binary options trading?
In most countries, binary options are treated similarly to traditional trading instruments, and individuals are typically subject to either standard income tax or capital gains tax. However, it is essential to note that in some countries, binary options are considered gambling, resulting in tax-free profits.